Prizm
A glassmorphic, corporate theme for Filament PHP.

Standard
- Single site license
- 1 year of updates
- Lifetime access
Unlimited
- Unlimited sites
- Lifetime updates
- Lifetime access
Requirements
Filament v3
- PHP 8.1+
- Filament v3
- Tailwind v3
Filament v4
- PHP 8.2+
- Filament v4
- Tailwind v4
Purchase & Activation
You can buy Prizm here. Once you have completed the checkout, you'll receive your license key and you will be prompted to activate your theme by entering the domain you intend to use for your production environment. You will not be able to install the theme if you have not activated it!
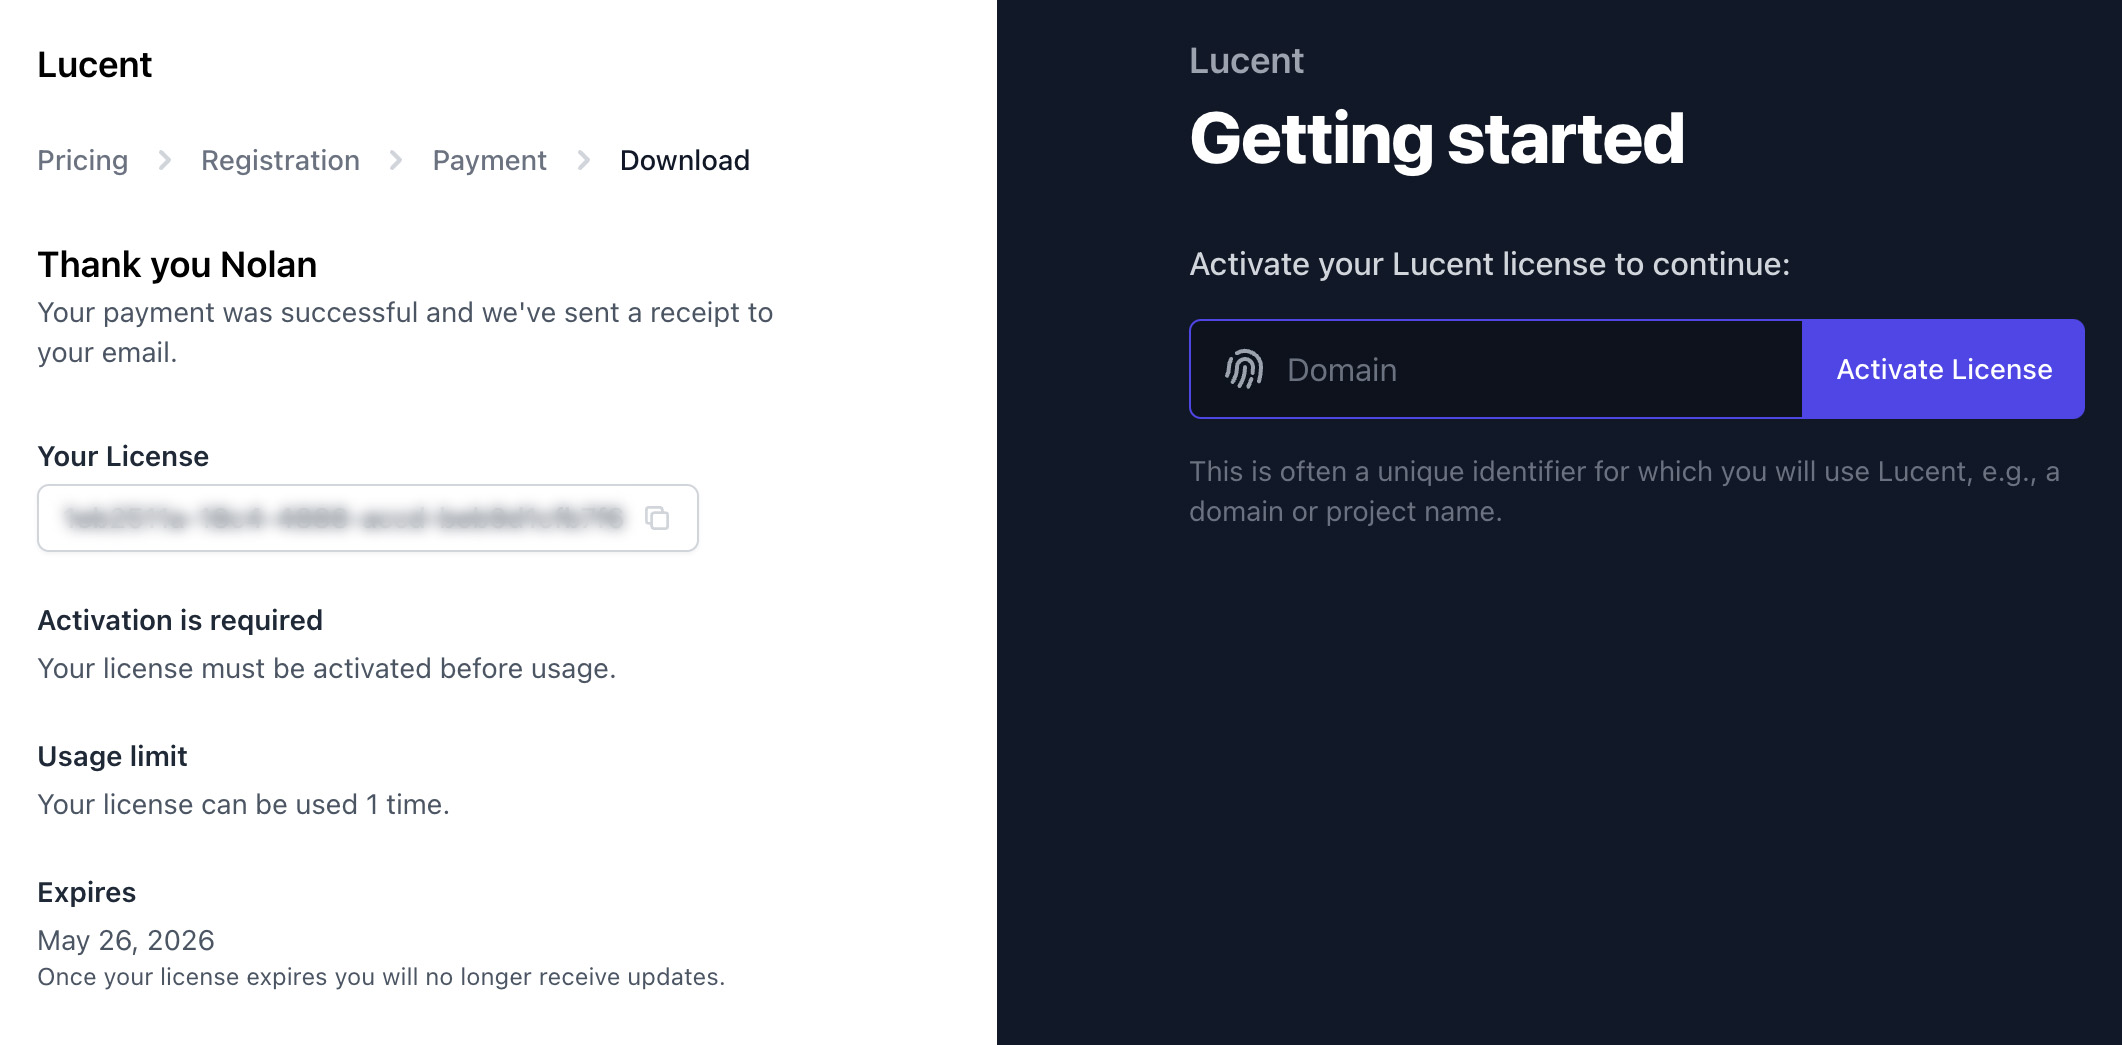
If you missed this step, you should be able to access it by finding the email with you license key and clicking the "Get started with Prizm" button.
Installation
1. Add the Repository
Once you have purchased Prizm, add the private repository to your composer.json:
composer config repositories.prizm composer https://prizm.composer.sh
2. Install the Package
Install the package via Composer:
composer require filafly/prizm:"^1.0" # Filament v3
composer require filafly/prizm # Filament v4
You will be prompted to provide your username and password.
Loading composer repositories with package information
Authentication required (prizm.composer.sh):
Username: [email]
Password: [key:domain]
The username will be your email address and the password will be equal to your license key. You will
also need to include the domain name of your project by appending it to the key with a colon (:). Take
the following instance for example:
- Contact email: nolan@filafly.com
- License key: 8c21df8f-6273-4932-b4ba-8bcc723ef500
- Activation fingerprint: filafly.com
Loading composer repositories with package information
Authentication required (prizm.composer.sh):
Username: [nolan@filafly.com]
Password: [8c21df8f-6273-4932-b4ba-8bcc723ef500:filafly.com]
It is recommended to store the credentials when asked.
3. Create a custom theme
To ensure that Filament is aware of the styling changes, we must setup a new custom theme.
php artisan make:filament-theme
Once you've created your theme, you'll need to replace the existing import at the top of the file.
@import '/vendor/filafly/prizm/resources/css/index.css'; /* Filament v3 */
@import '../../../../vendor/filafly/prizm/resources/css/theme.css'; /* Filament v4 */
4. Add to Your Panel
Now you'll tell your Filament panel about the custom theme file and register a plugin for Prizm. If we assume your custom theme was created for an "admin" panel, you would make the following method calls in the panel provider:
use Filafly\Themes\Prizm\PrizmTheme;

public function panel(Panel $panel): Panel
{
    return $panel
        // ... other configuration
        ->viteTheme('resources/css/filament/admin/theme.css')
        ->plugin(PrizmTheme::make());
}
Customization
Disabling the Suggested Colors
Prizm comes with a carefully chosen set of default colors designed to enhance your Filament panel's visual harmony. However, if you'd like to maintain your existing color scheme or implement your own custom palette, you can prevent Prizm from applying its default colors by using the withoutSuggestedColors() method:
PrizmTheme::make()->withoutSuggestedColors()
Disabling the Suggested Font
By default, Prizm applies the Kumbh Sans font to your Filament panel for optimal visual consistency. If you prefer to use your own font or keep your existing font configuration, you can disable this behavior using the withoutSuggestedFont() method:
PrizmTheme::make()->withoutSuggestedFont()
Disabling the Suggested Icons
Prizm comes with a curated set of icons designed to provide a unified visual experience in your Filament panel. If you'd rather use your own icons or maintain your current icon configuration, you can prevent Prizm from applying its default icons by using the withoutSuggestedIcons() method:
PrizmTheme::make()->withoutSuggestedIcons()
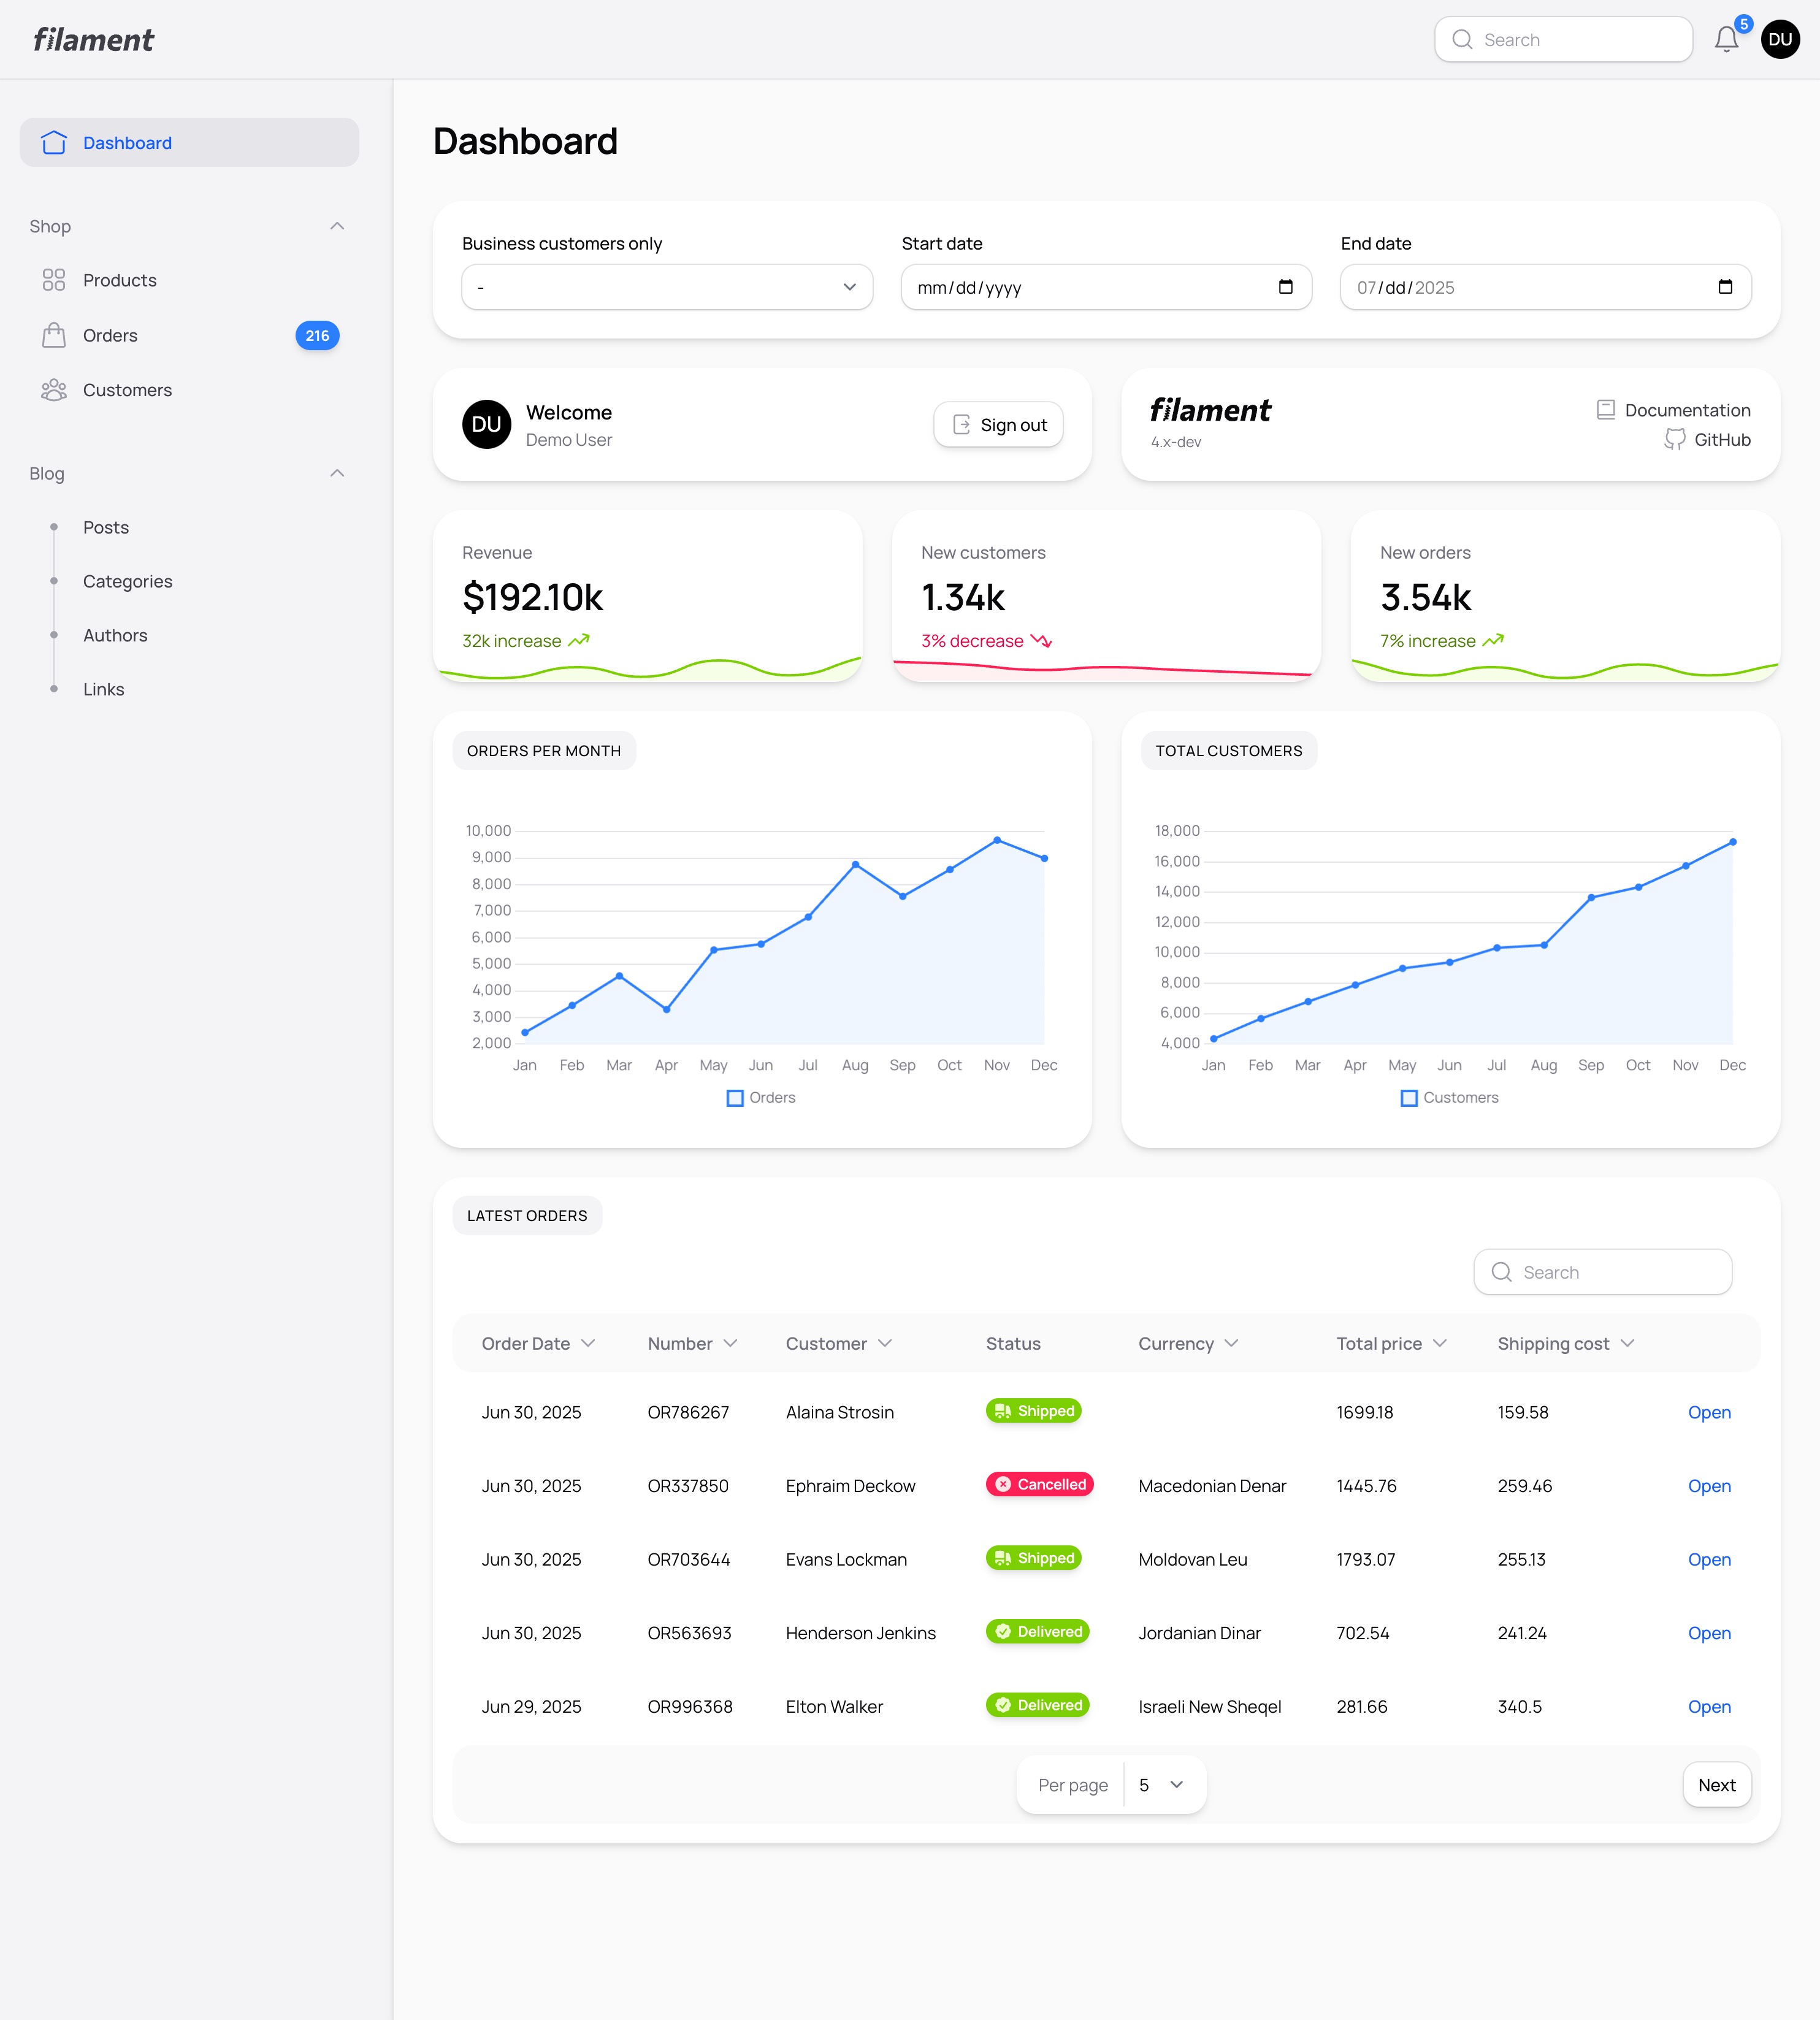
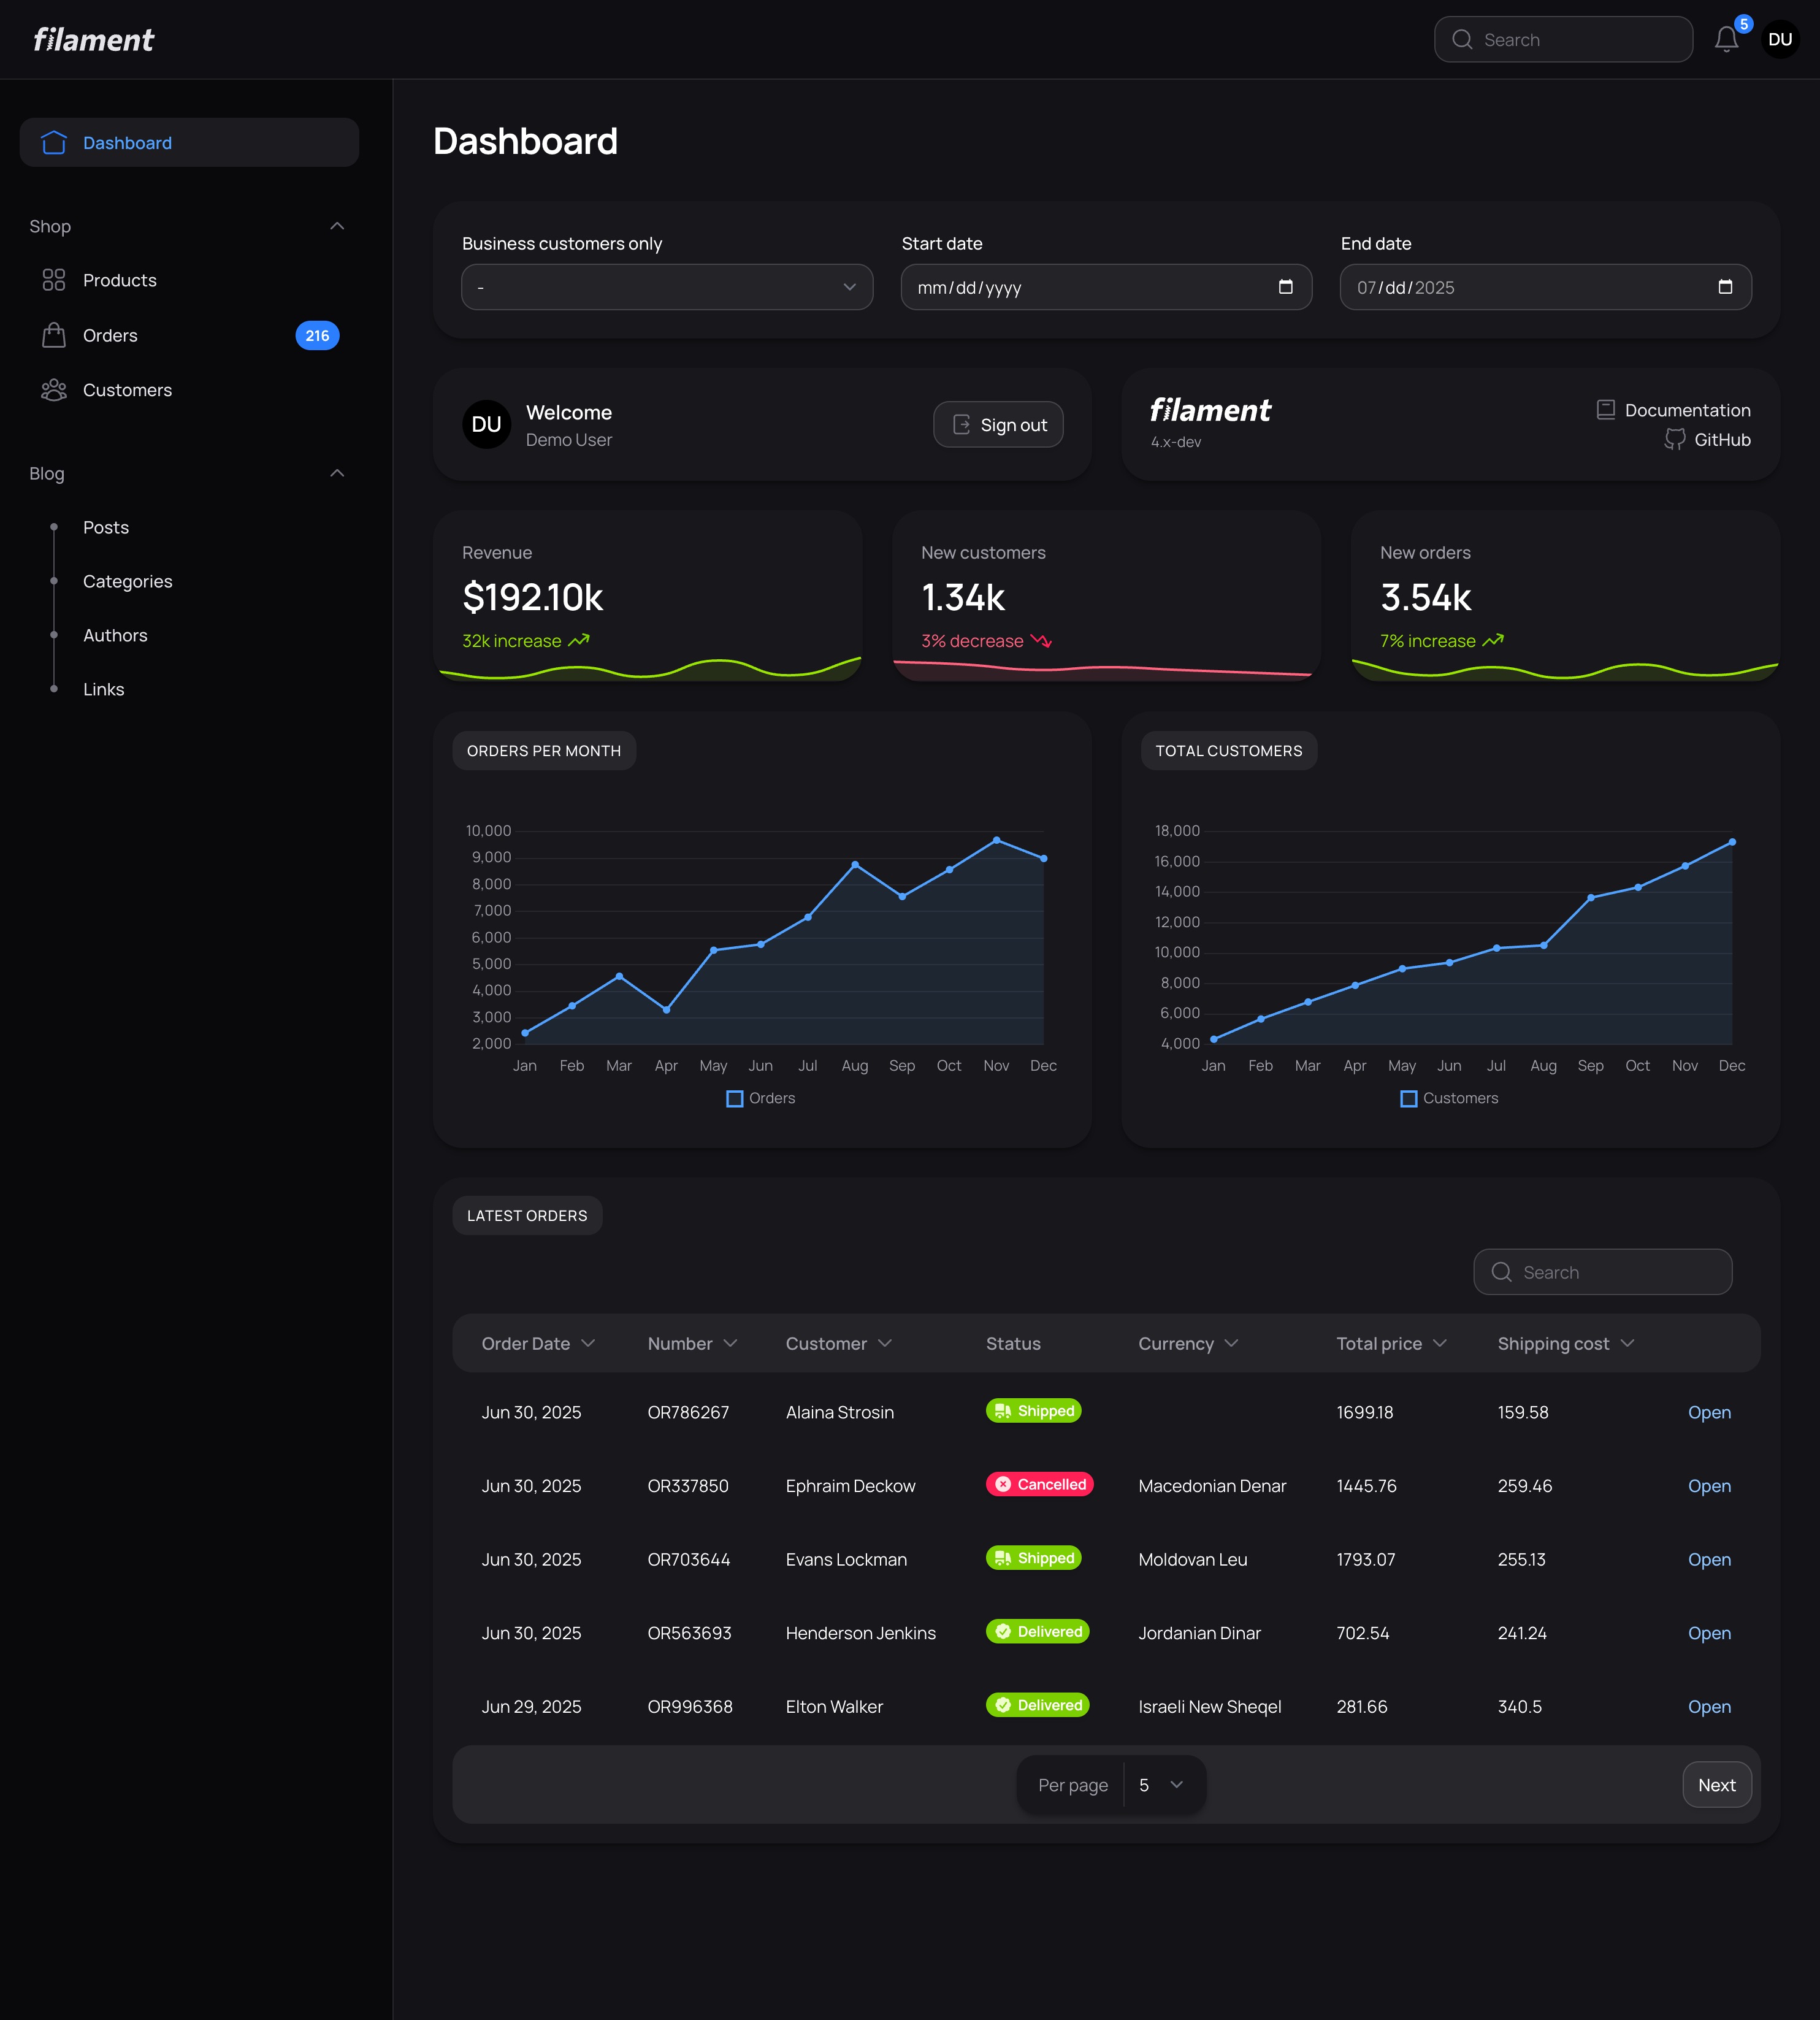
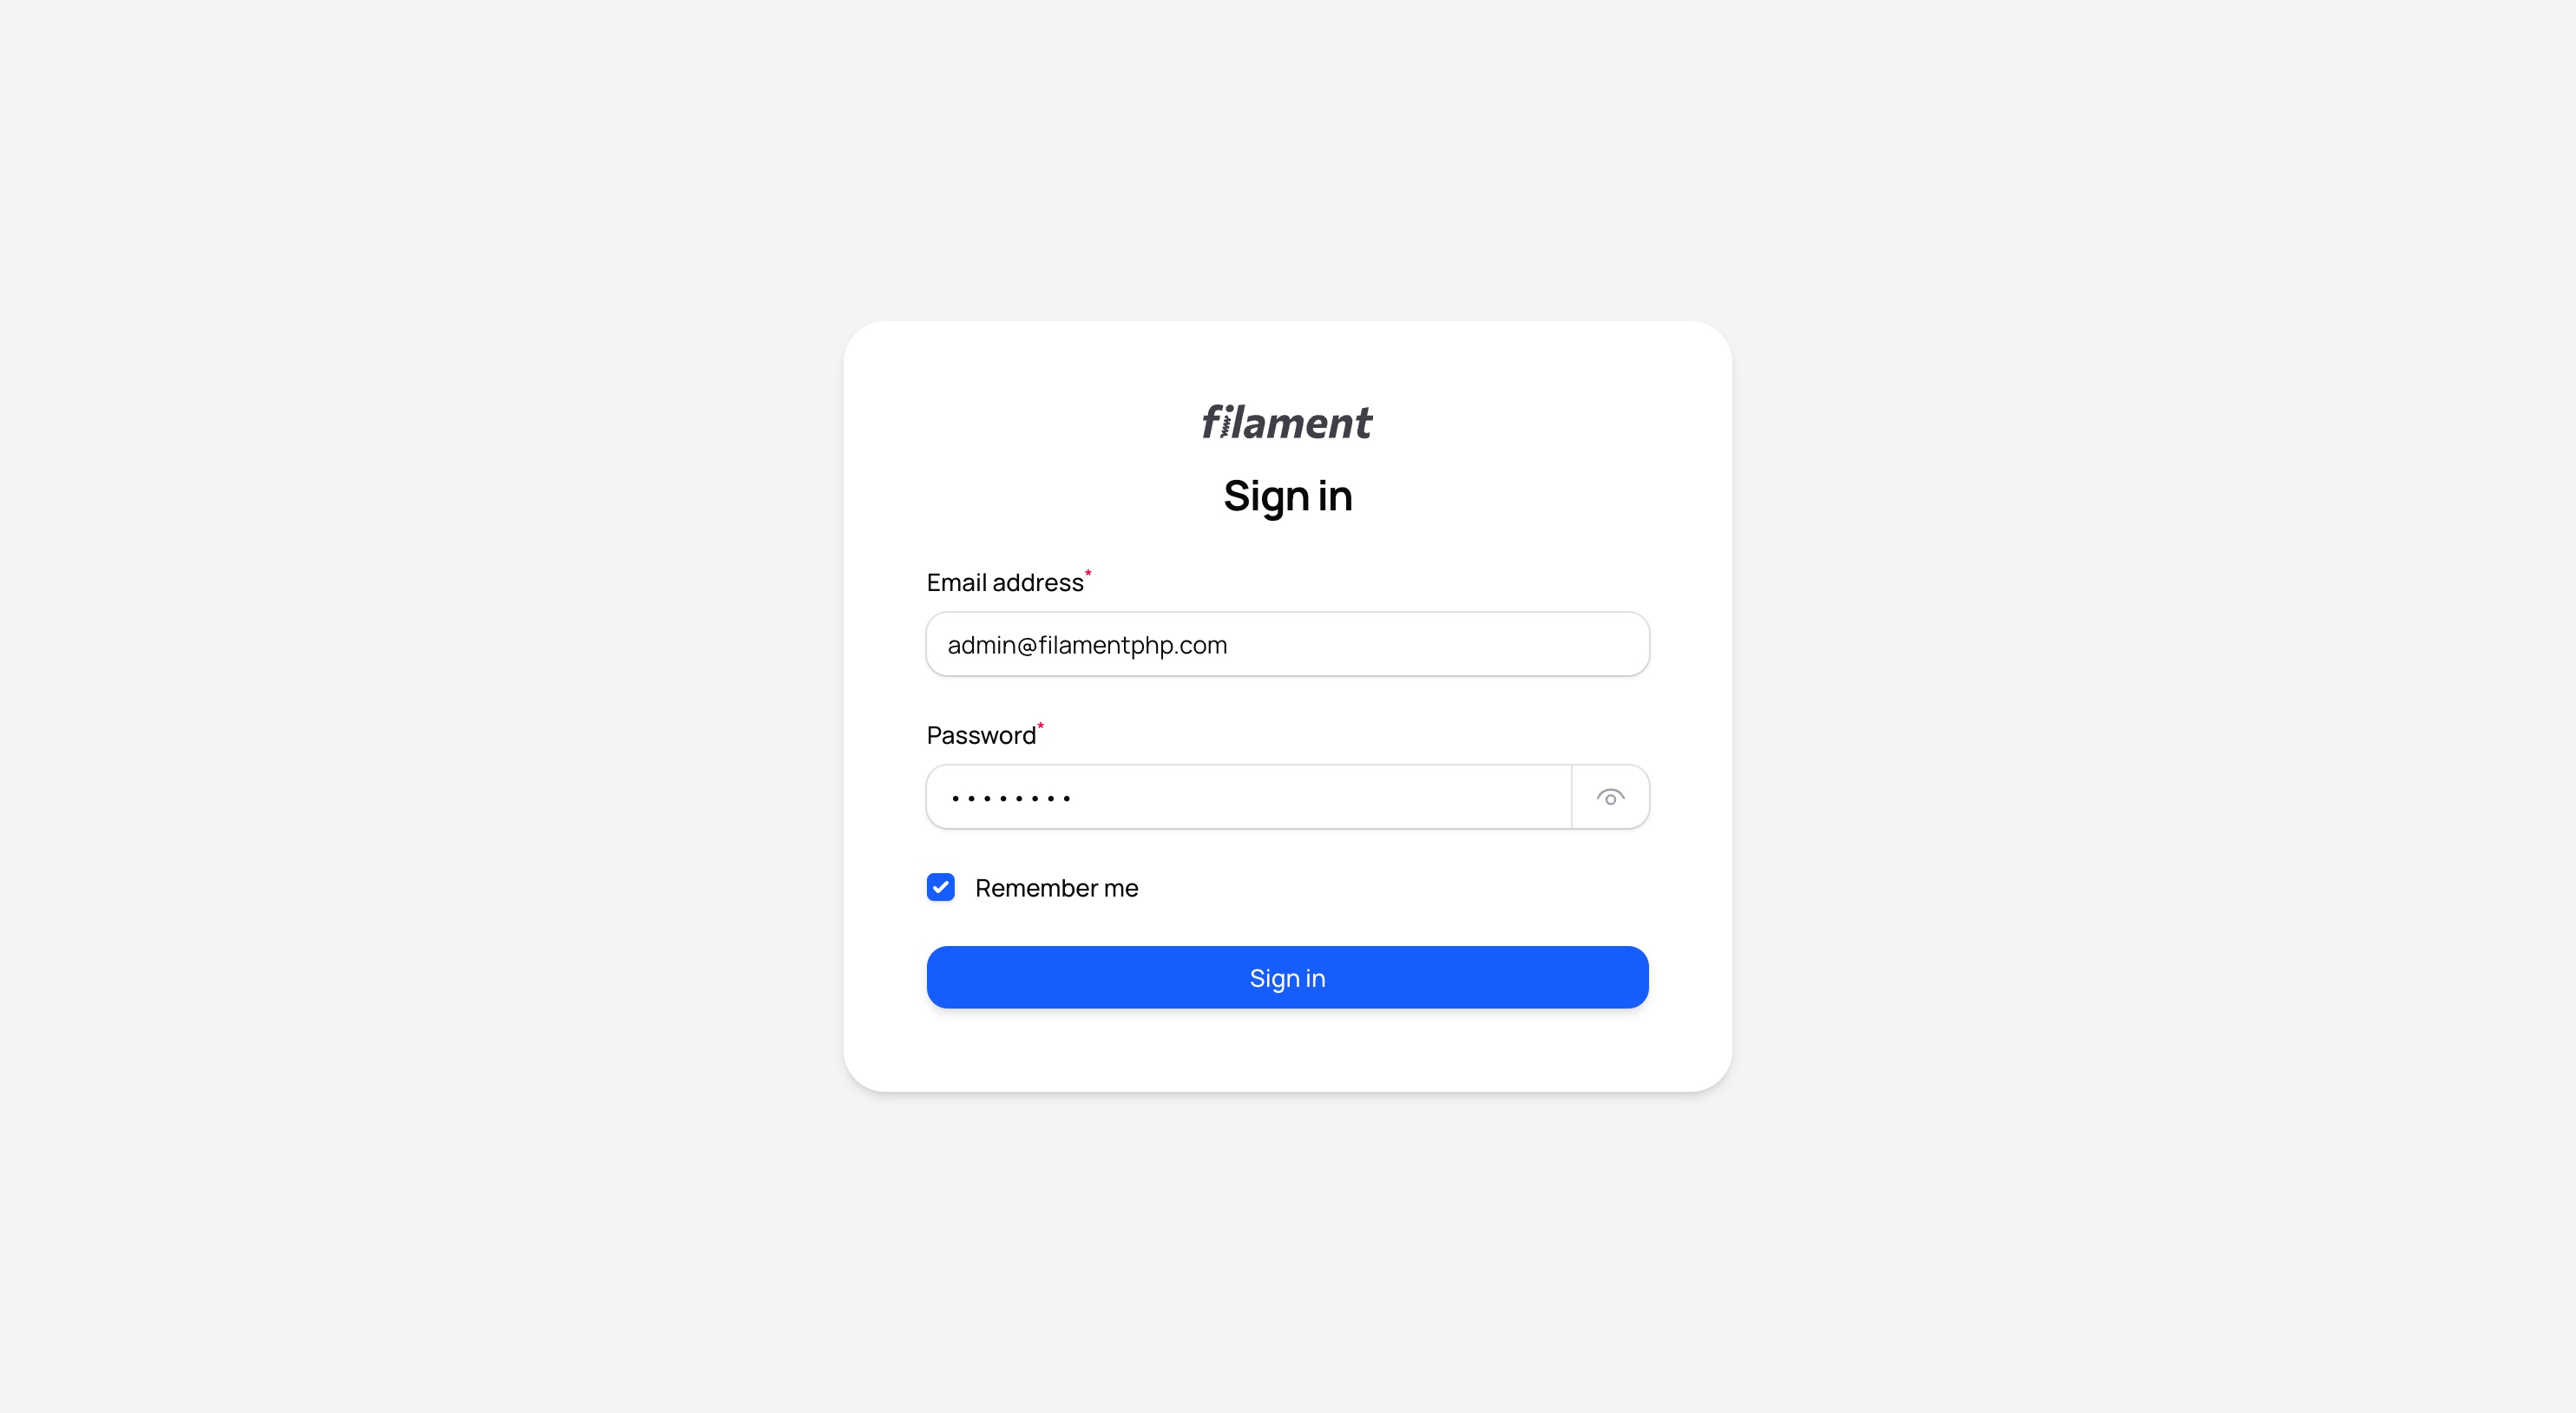
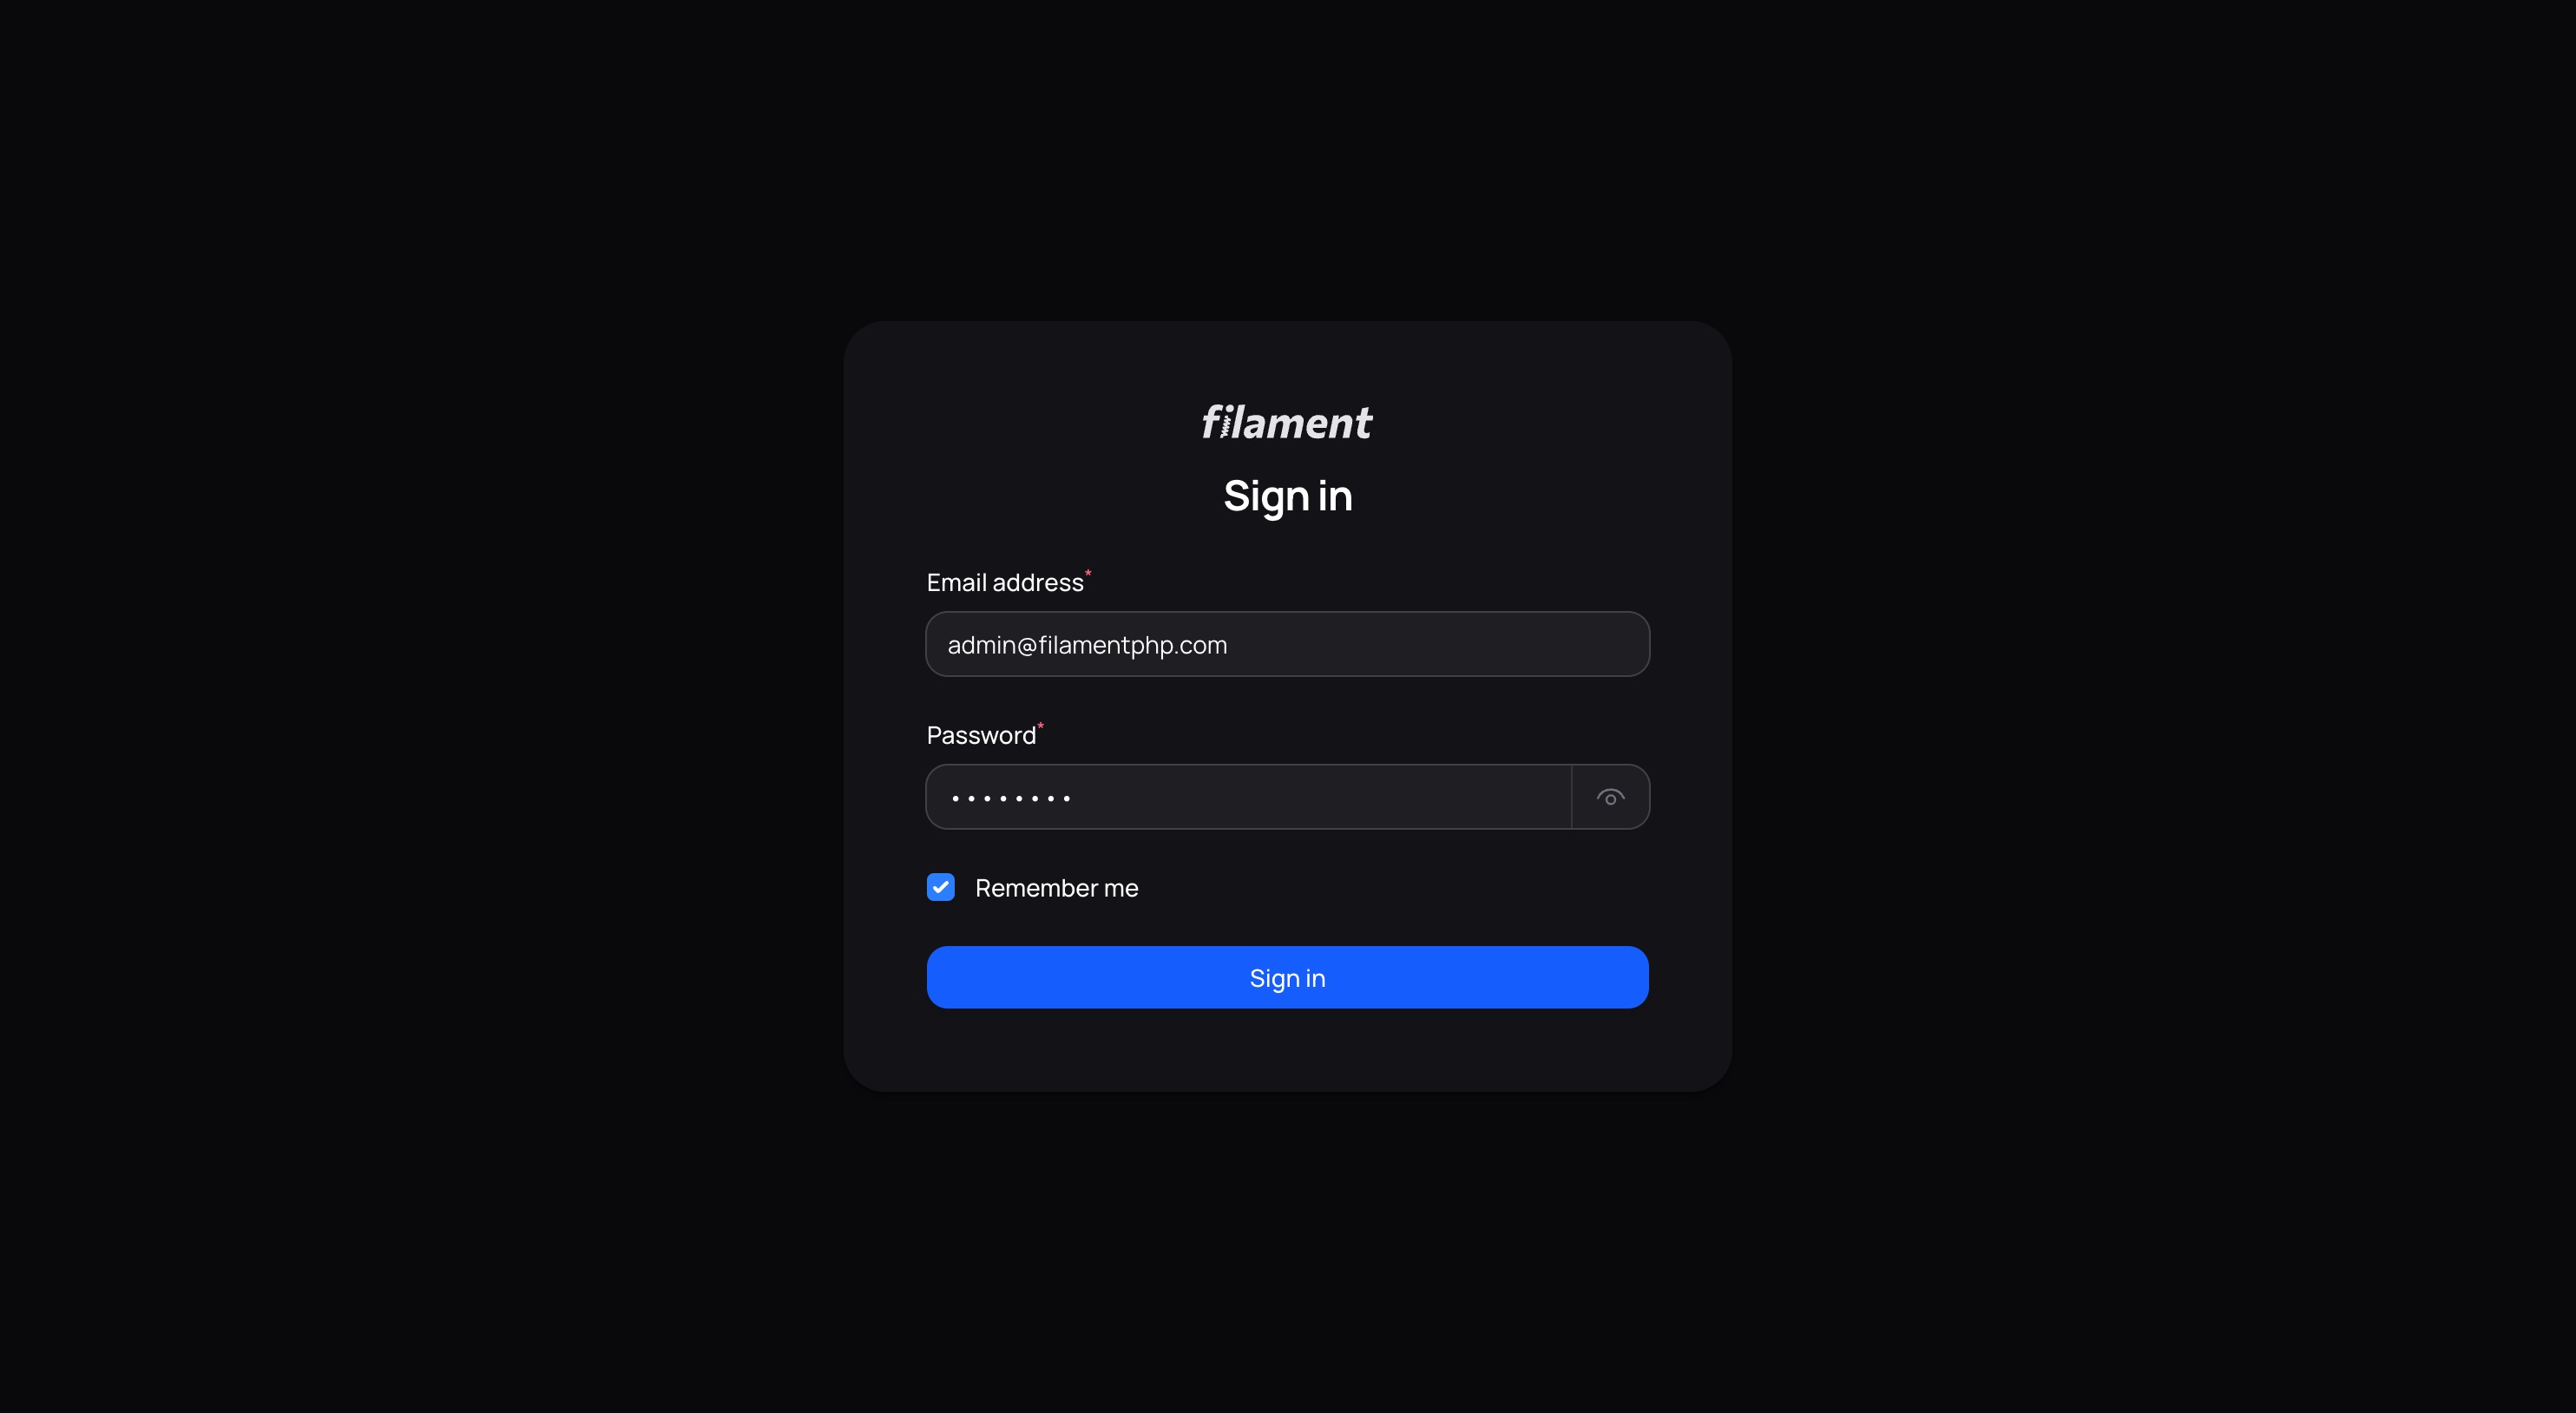
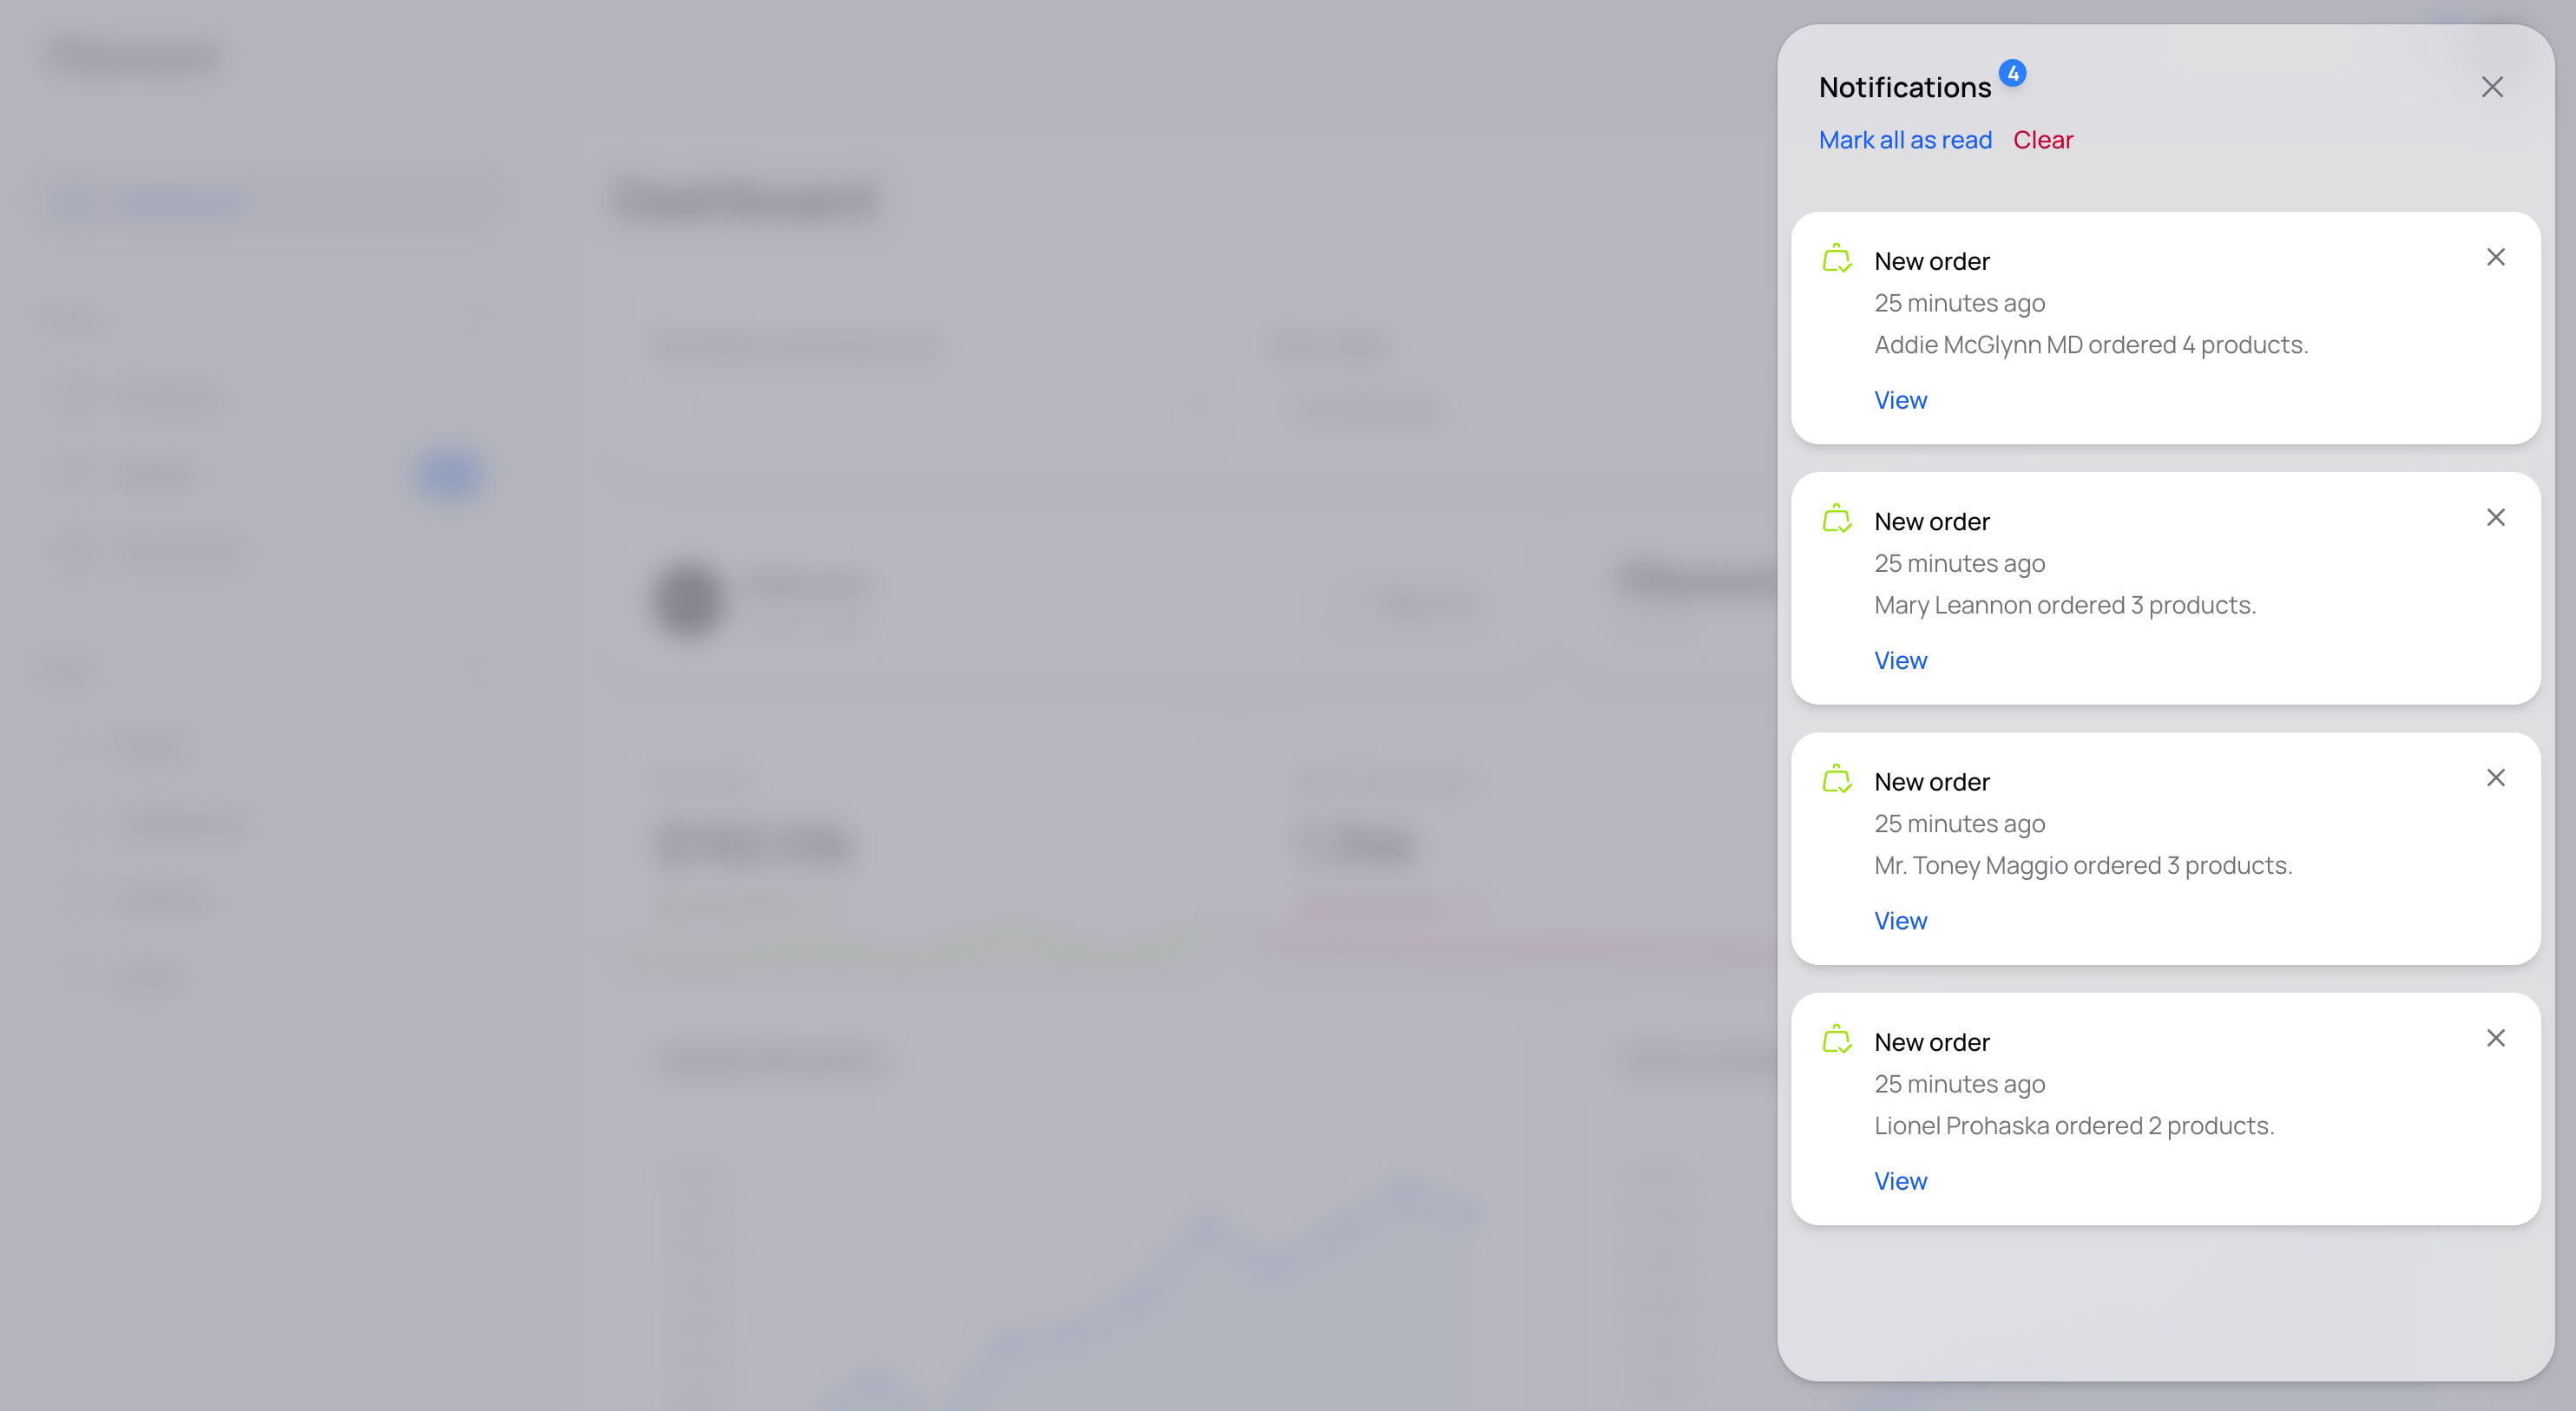
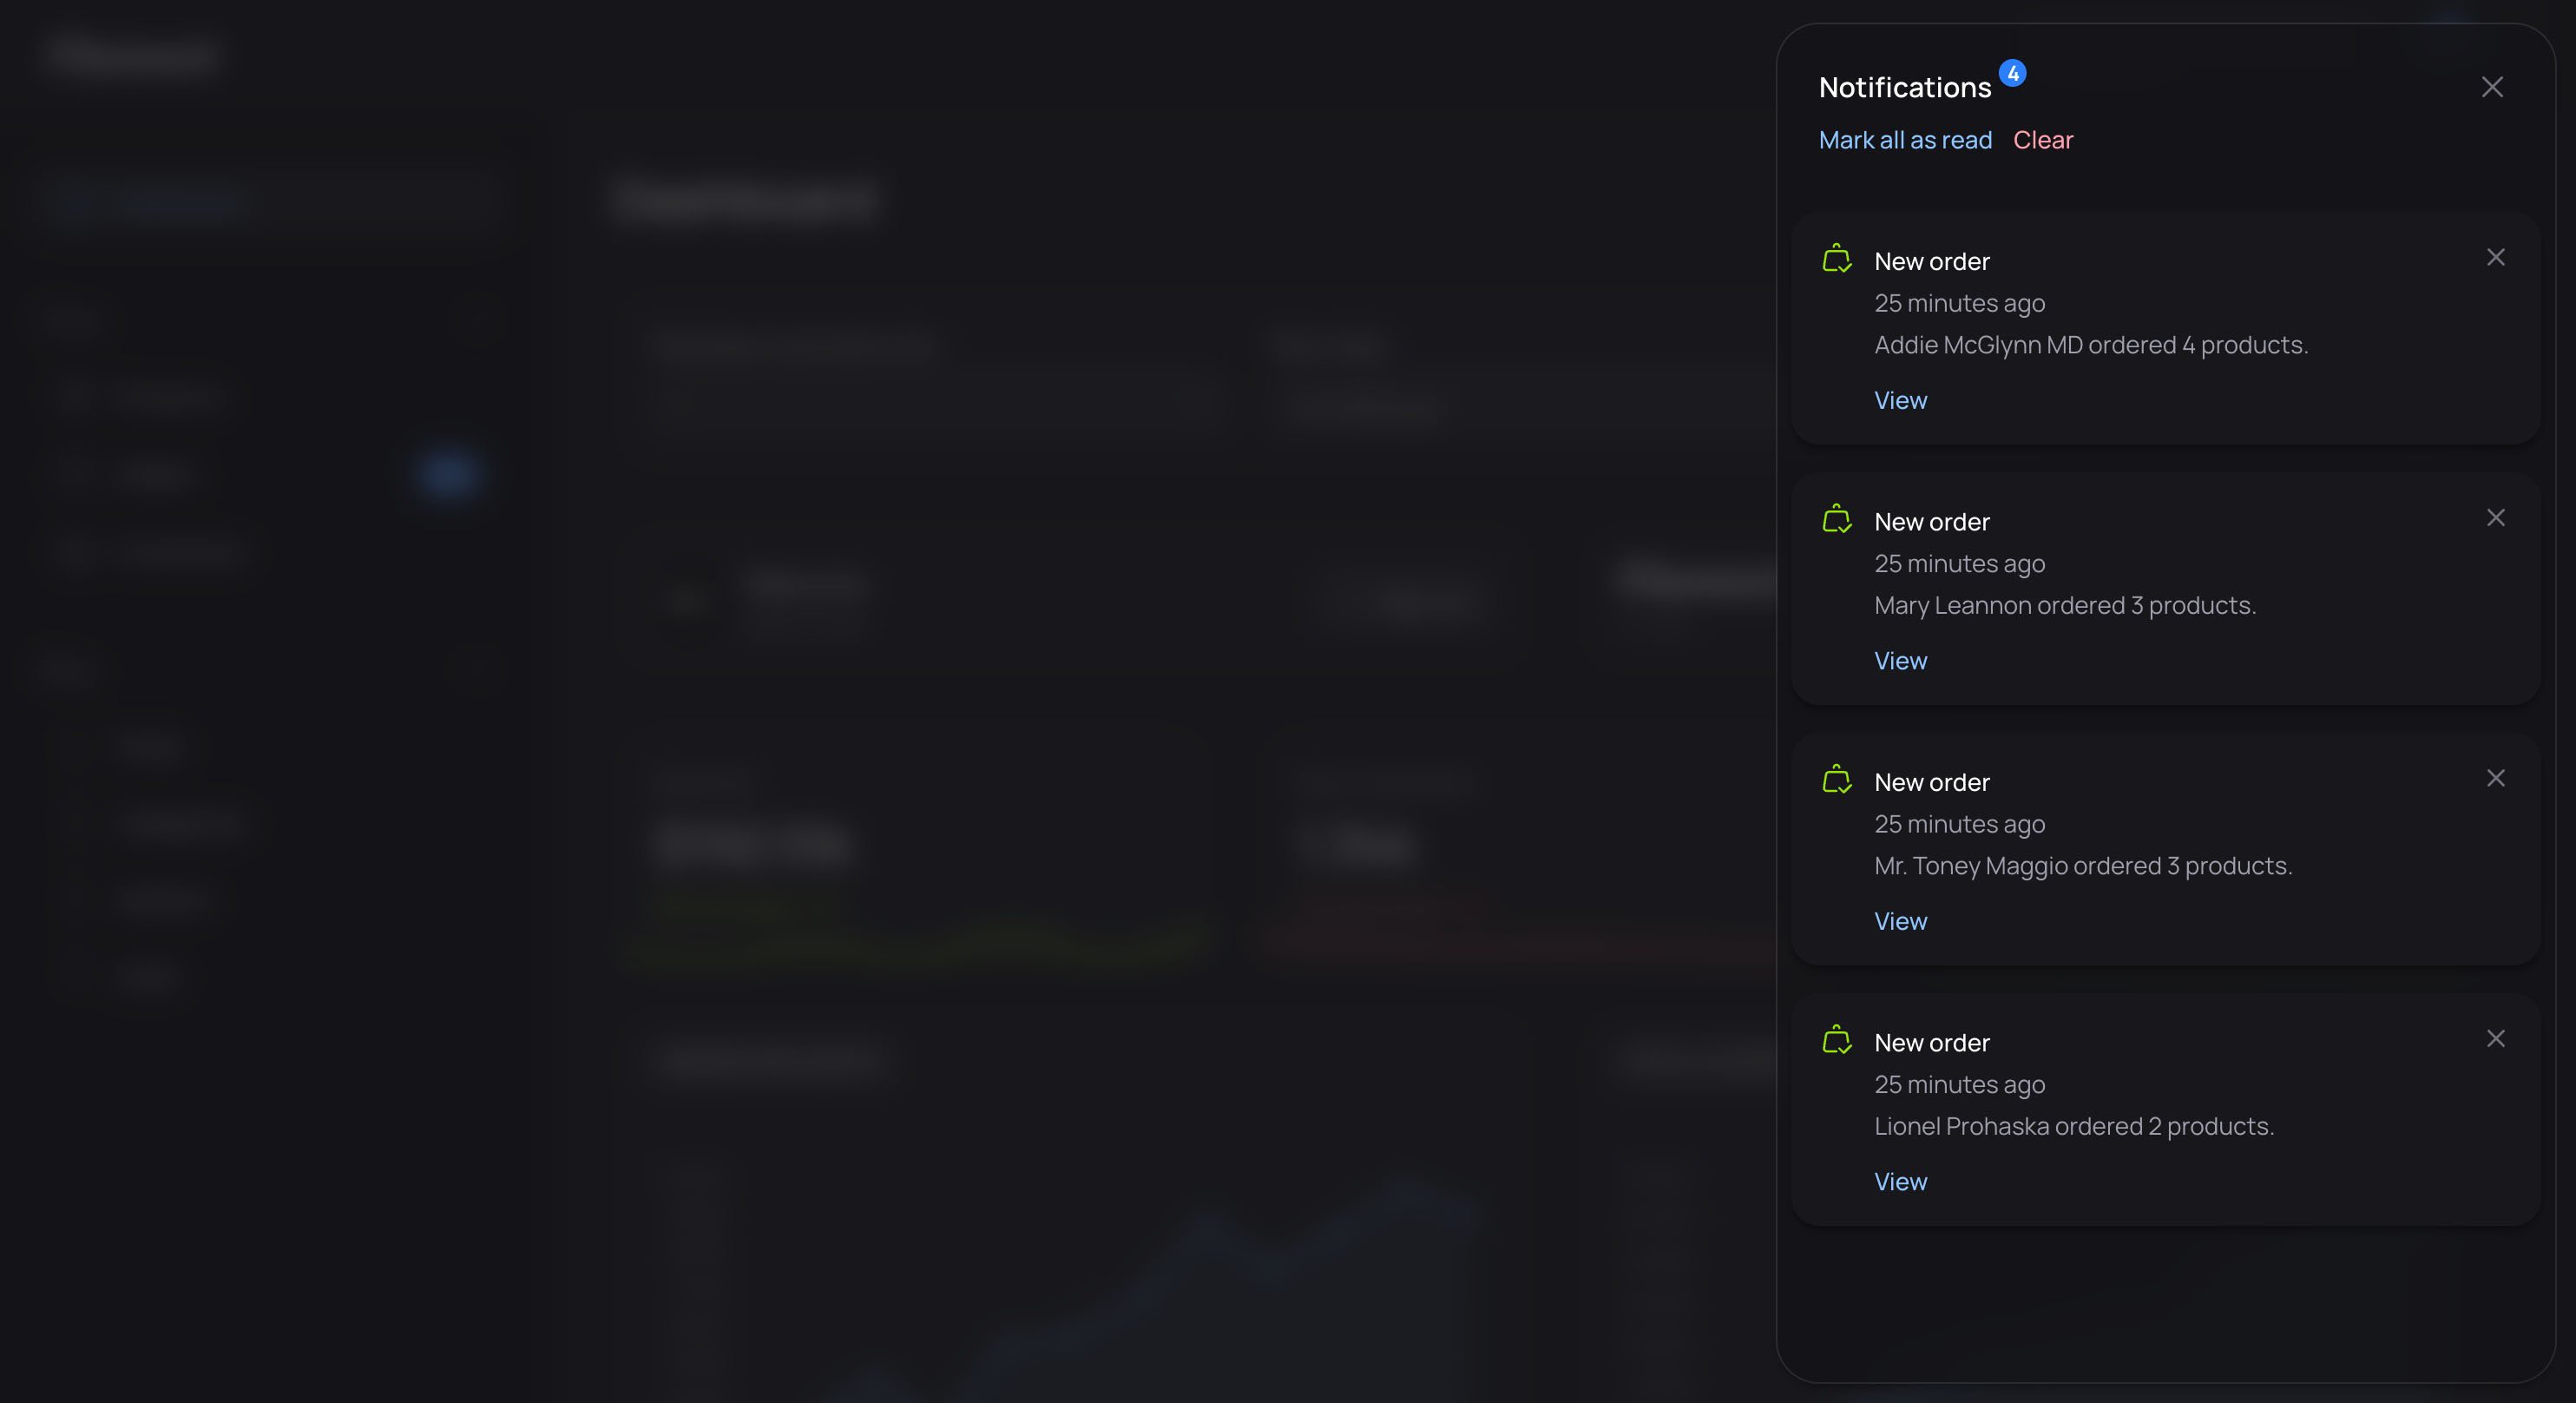
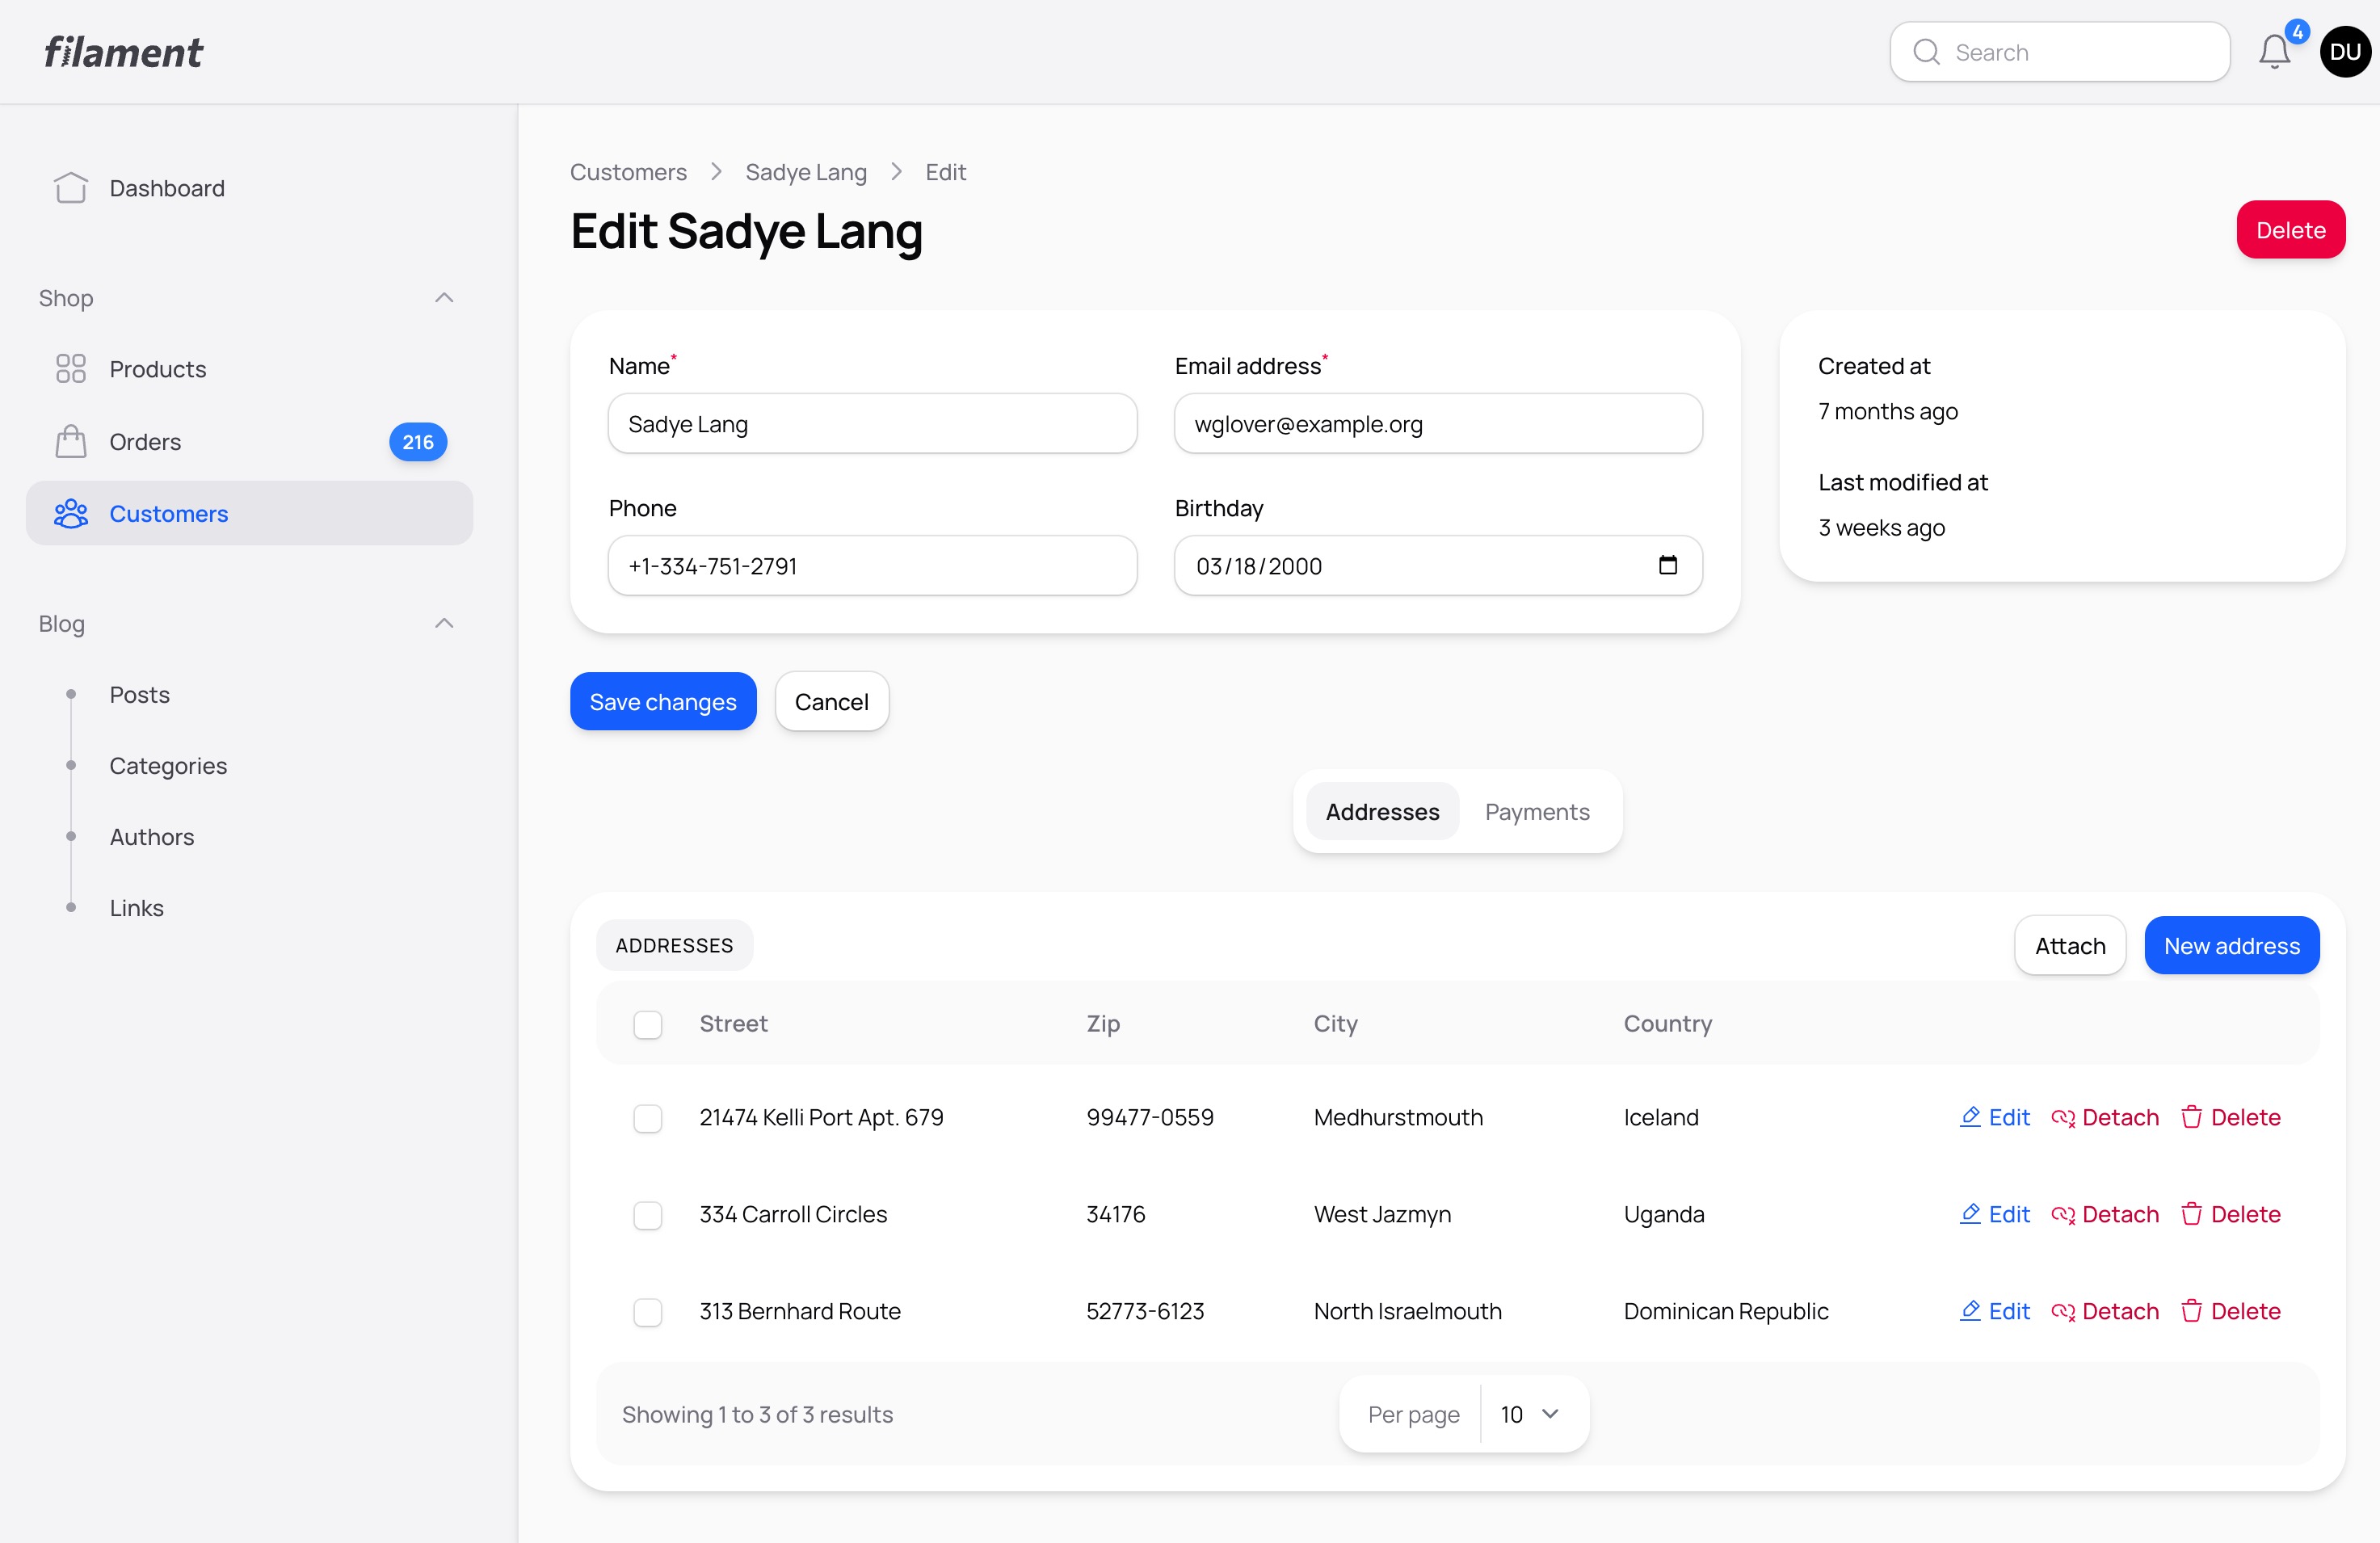
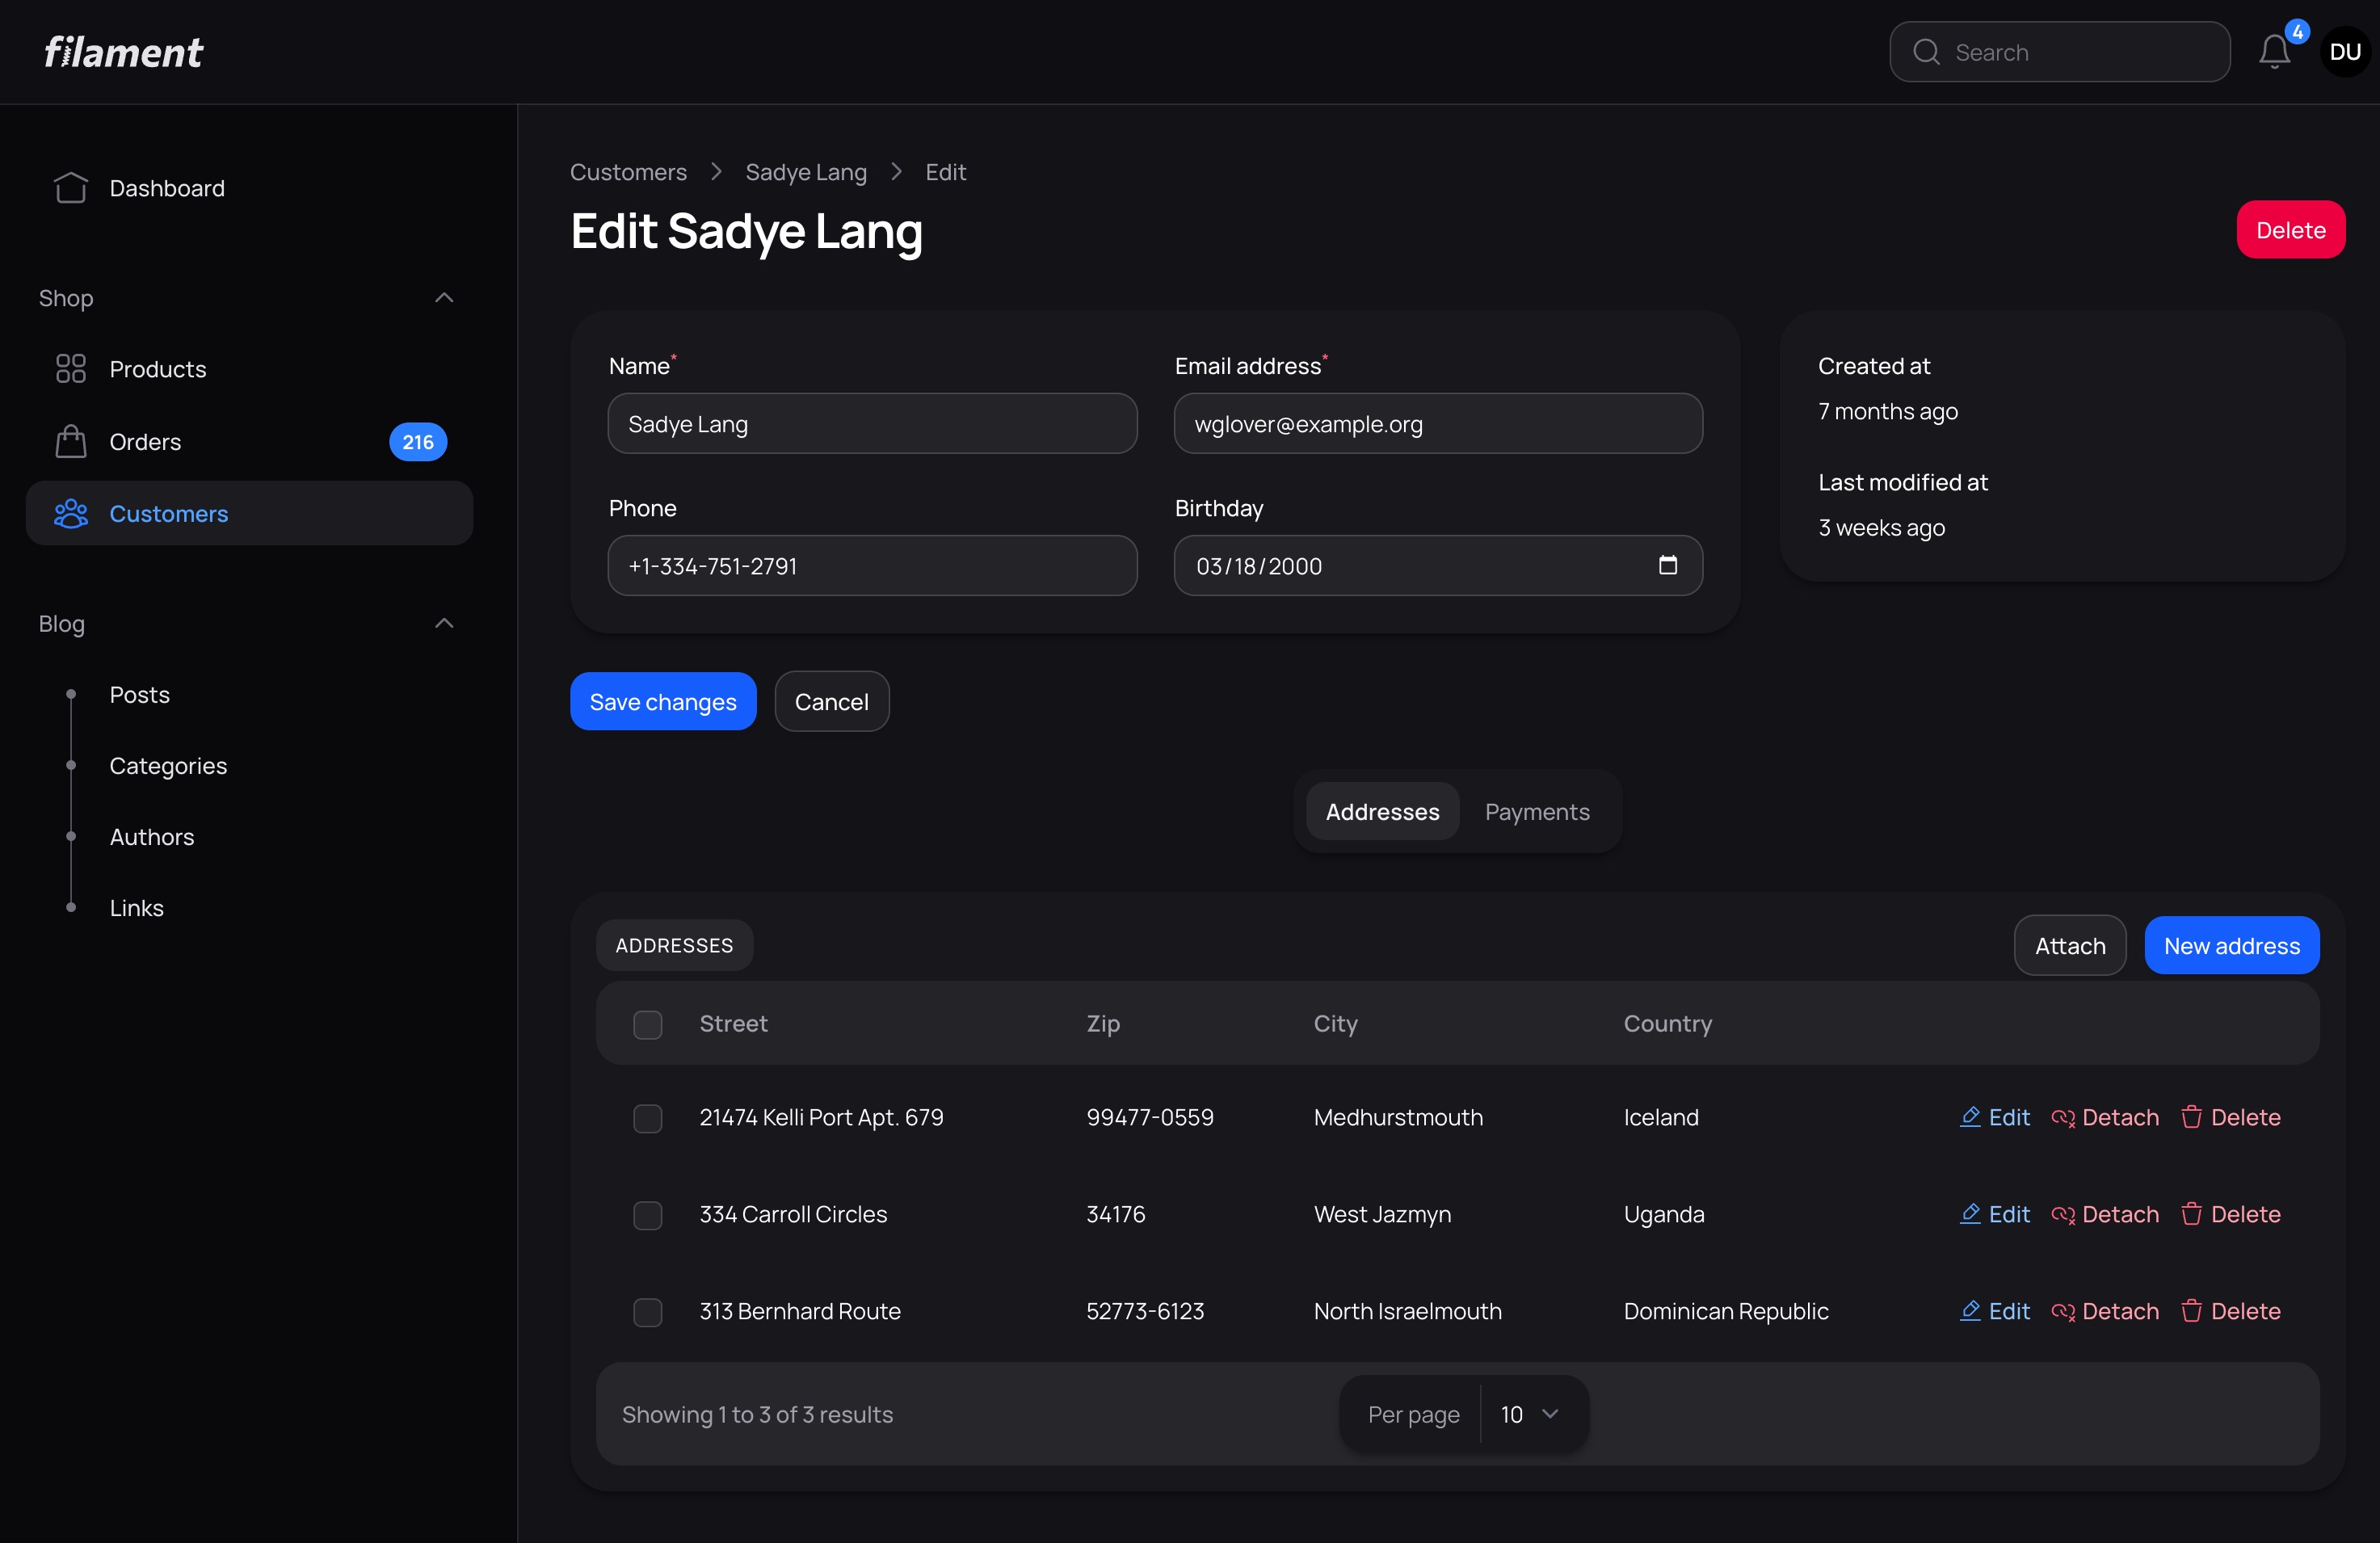
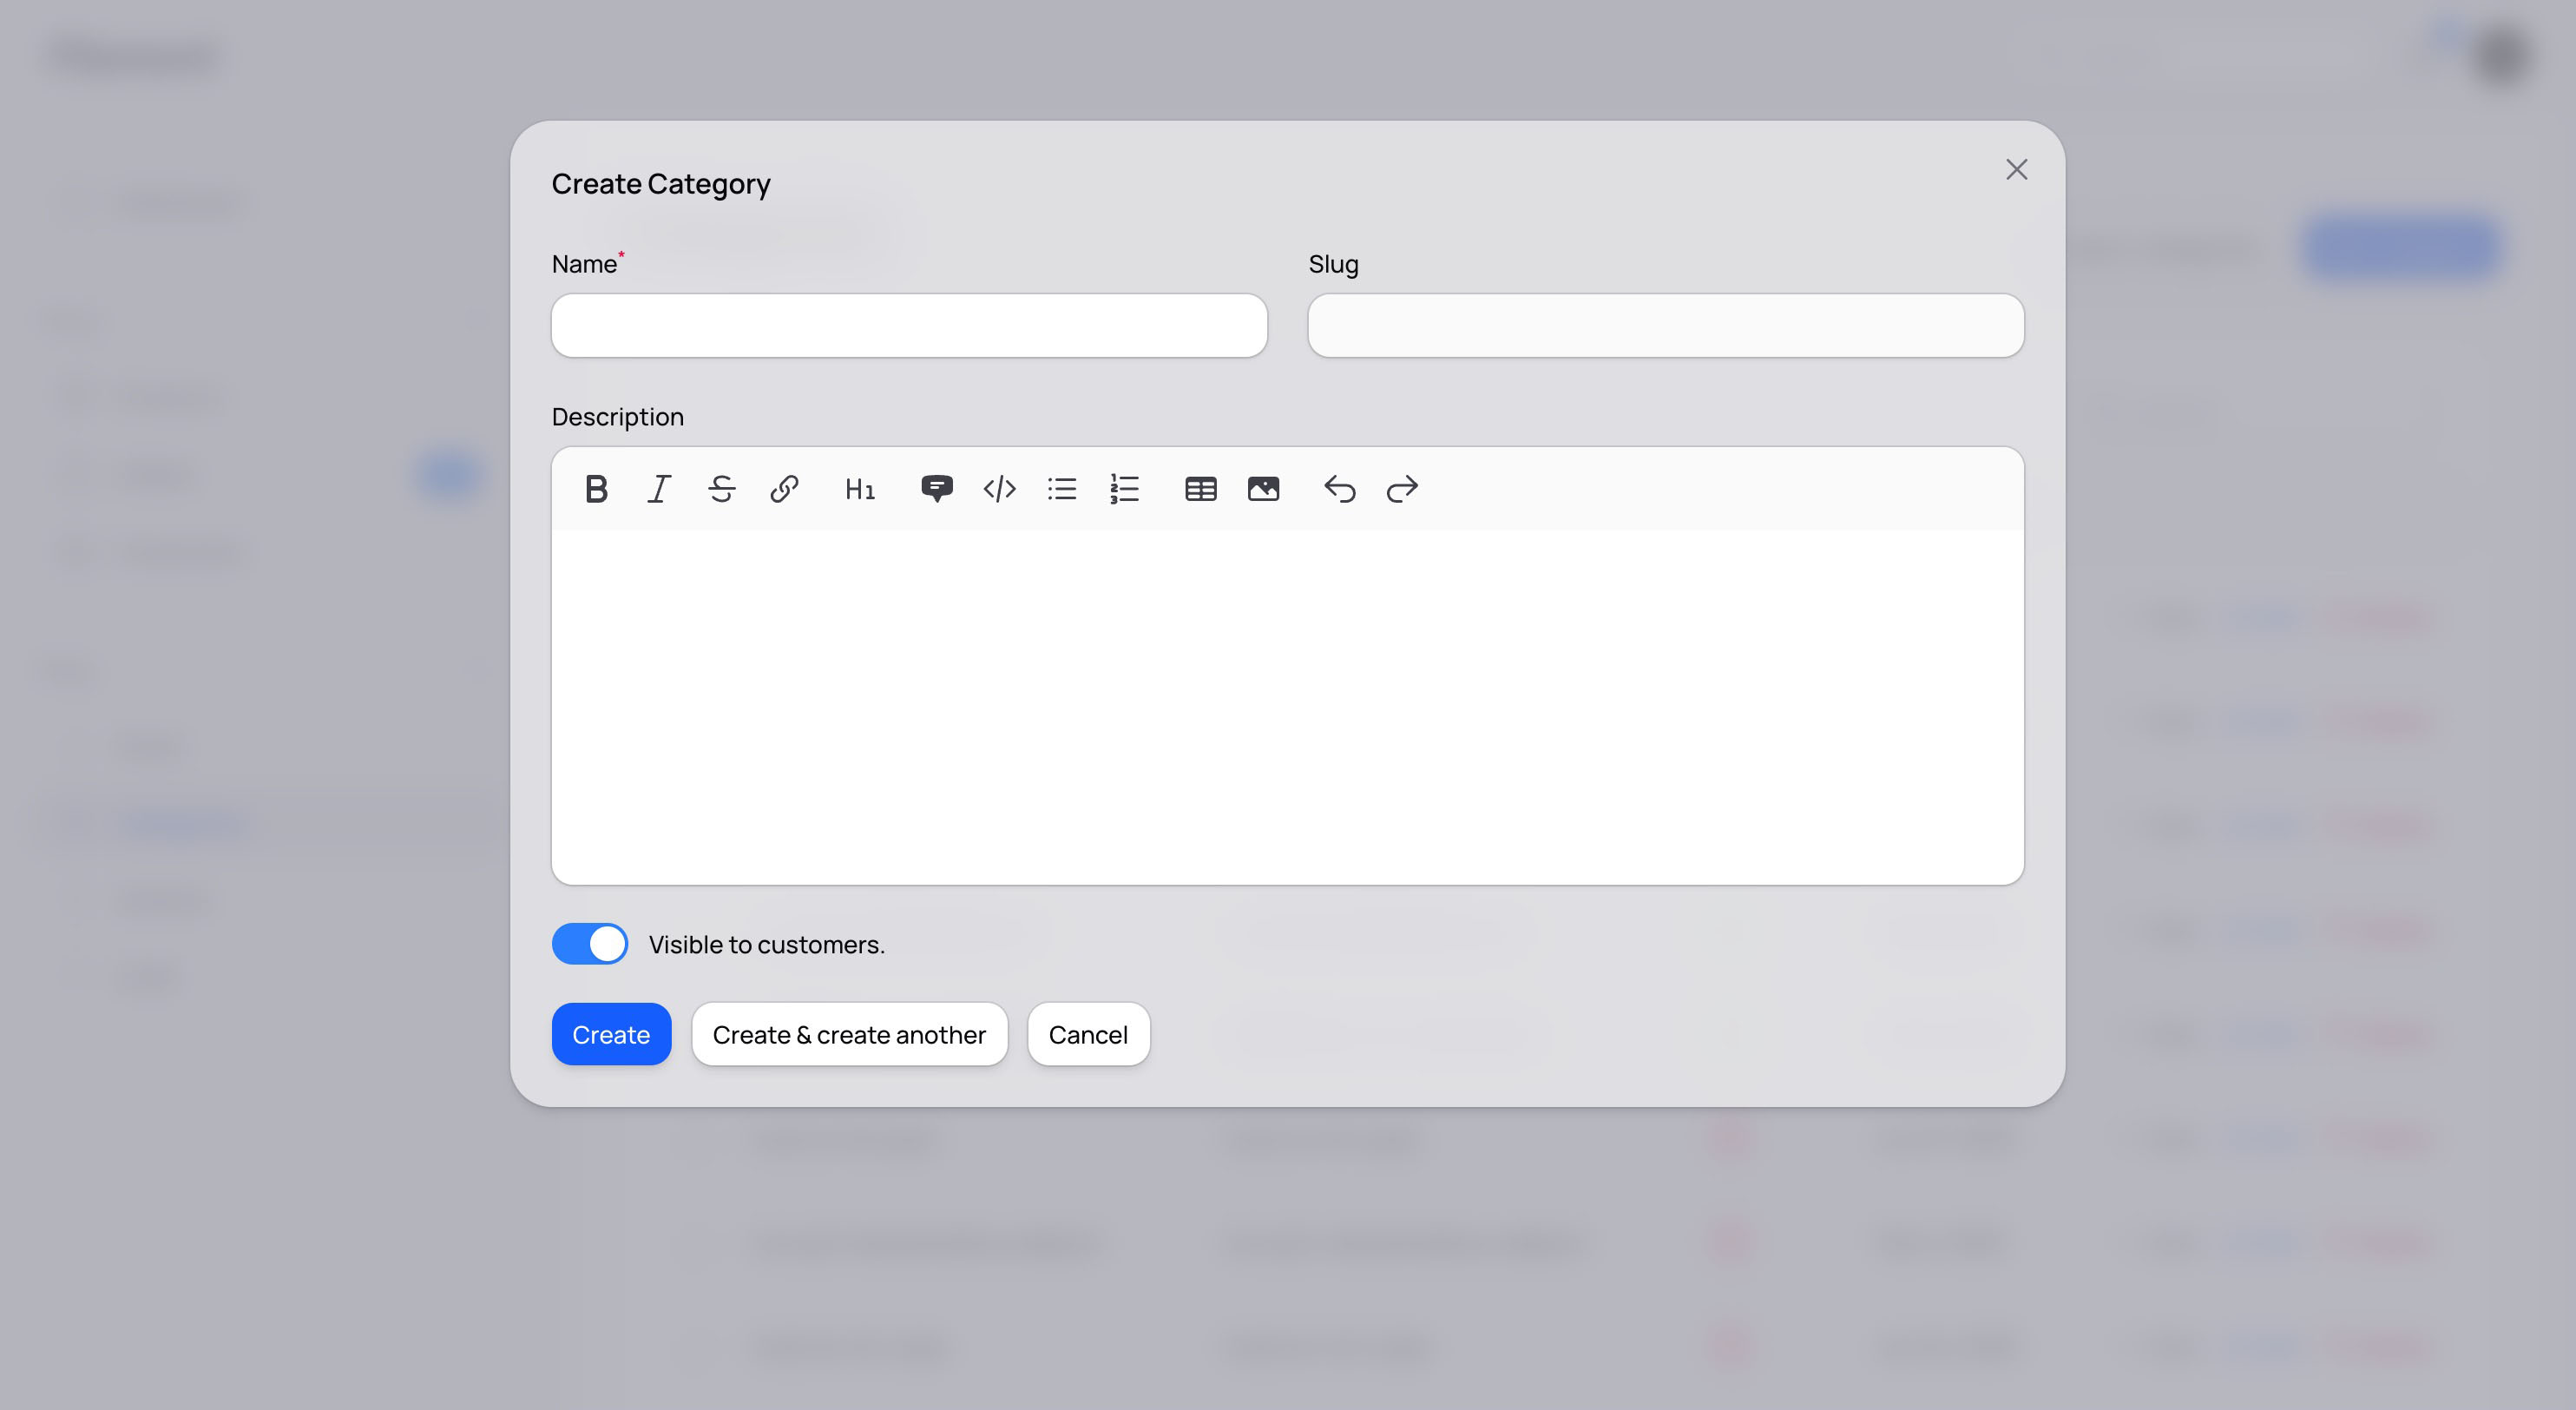
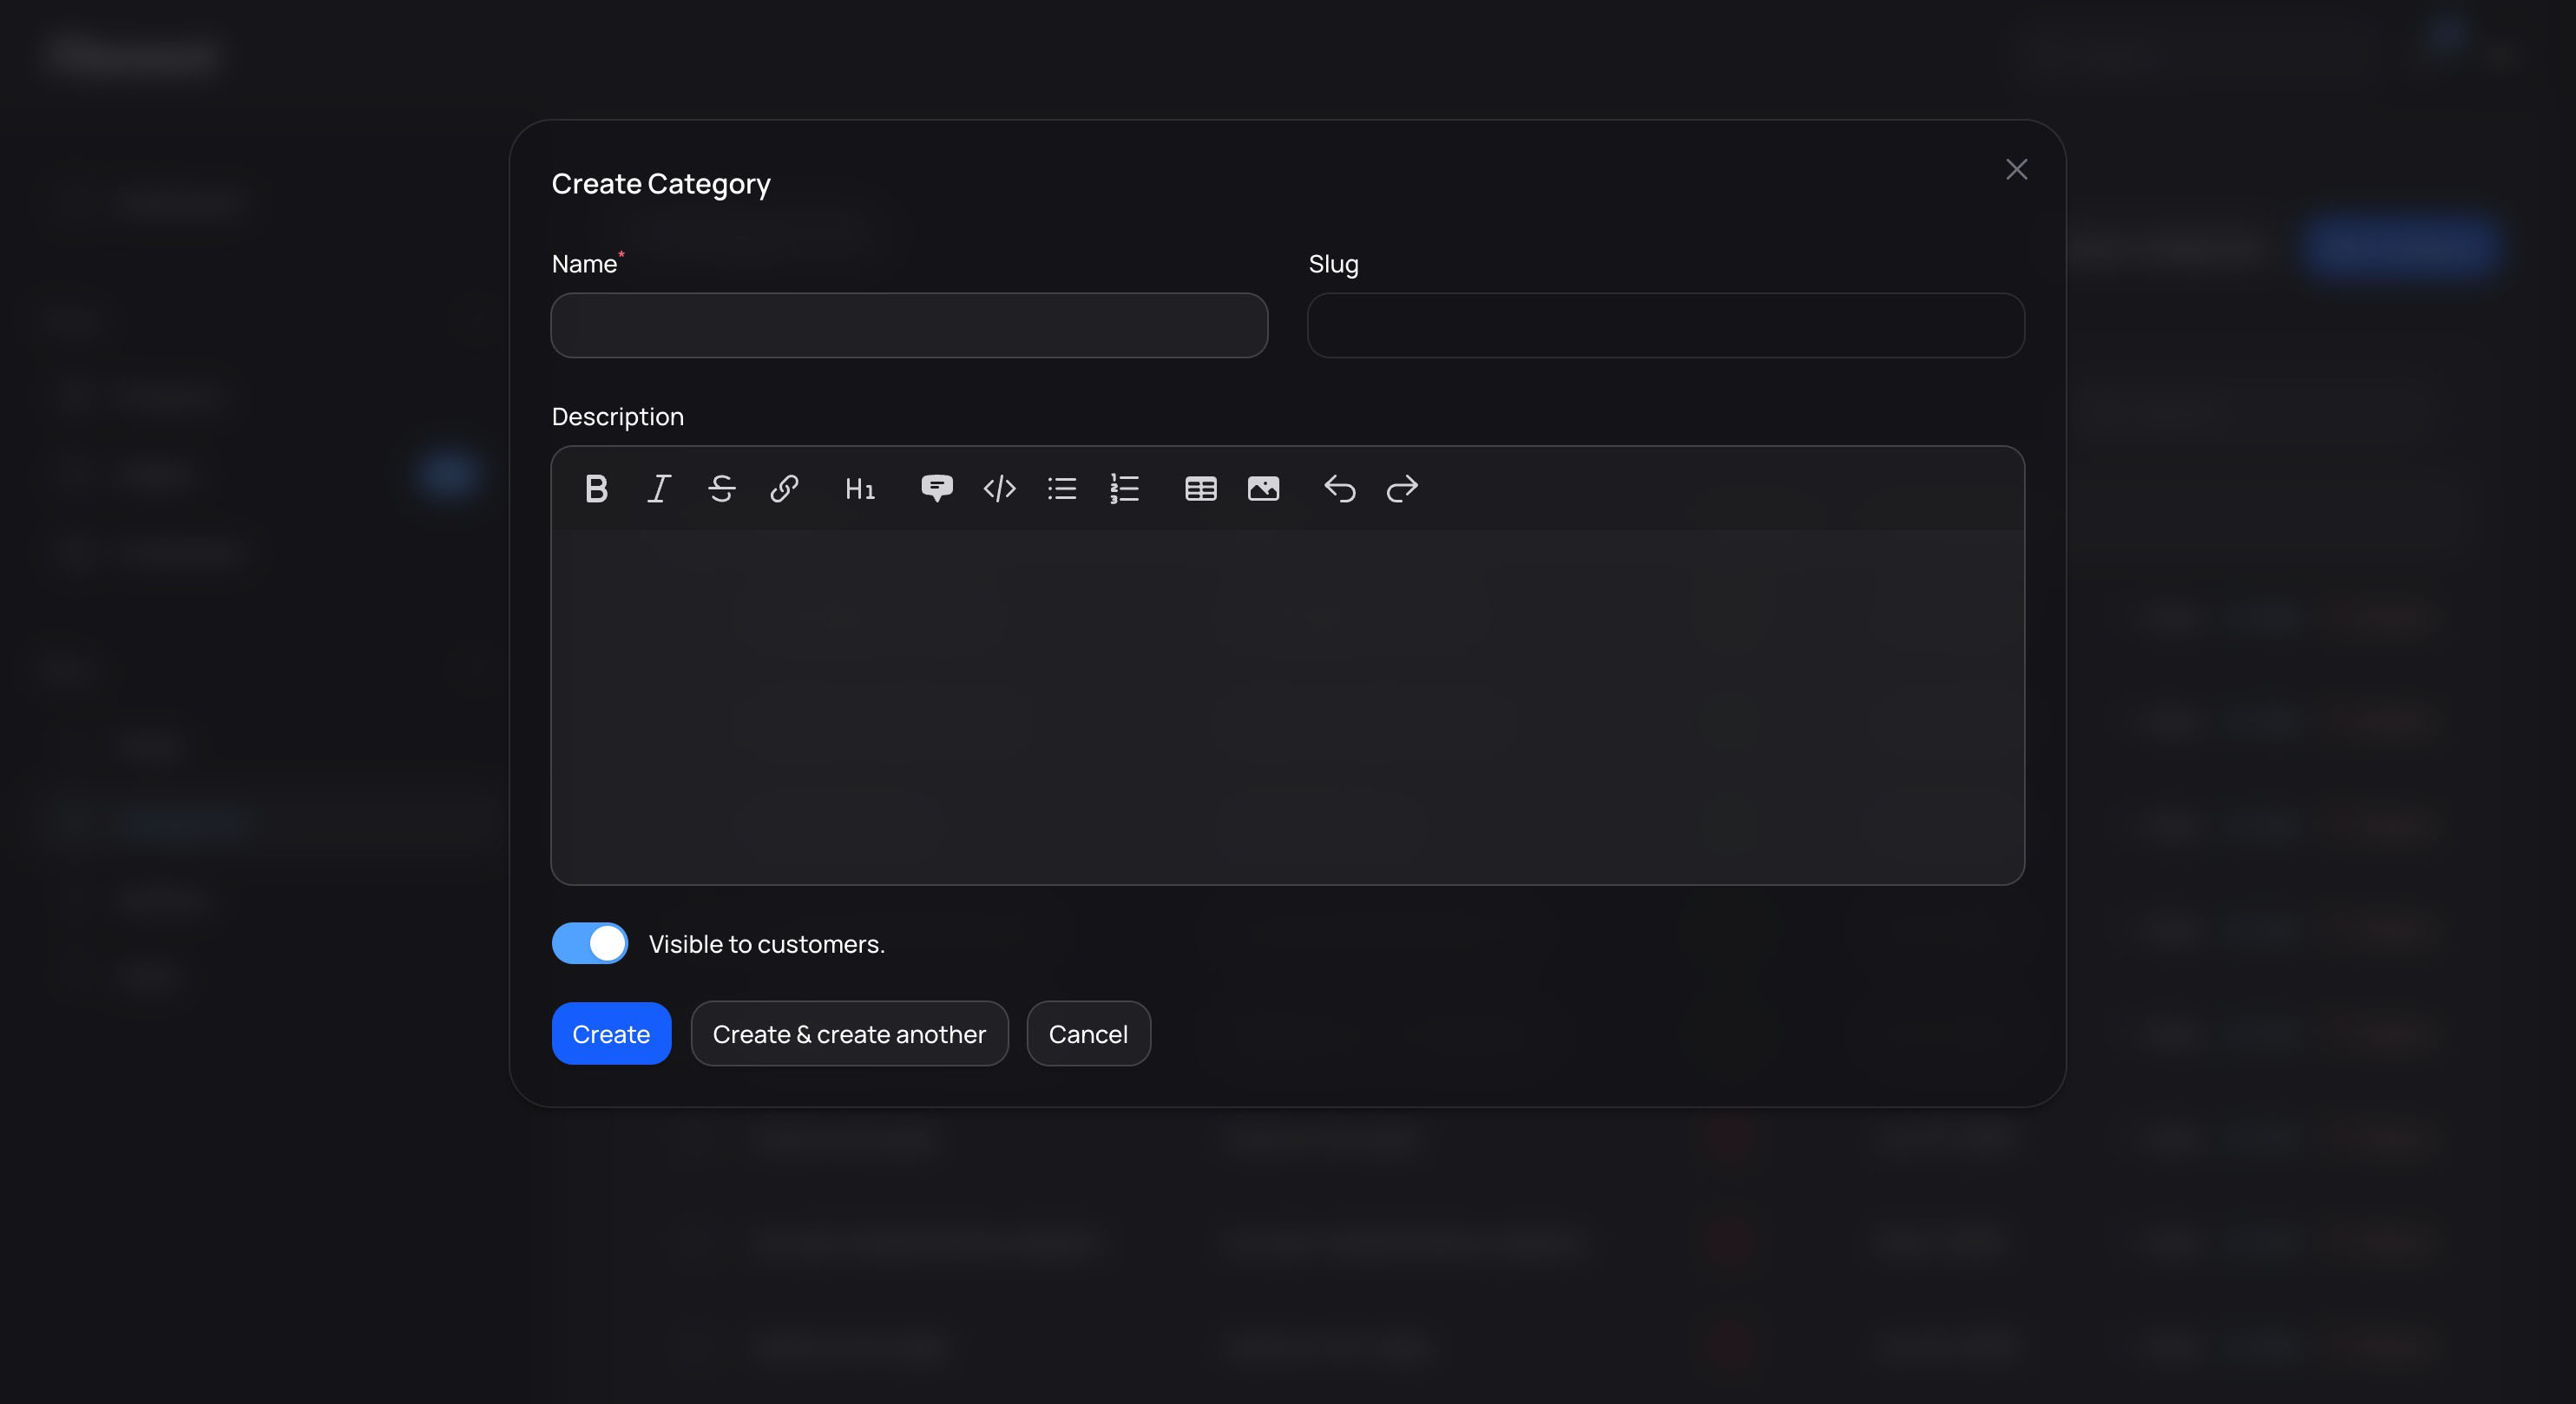
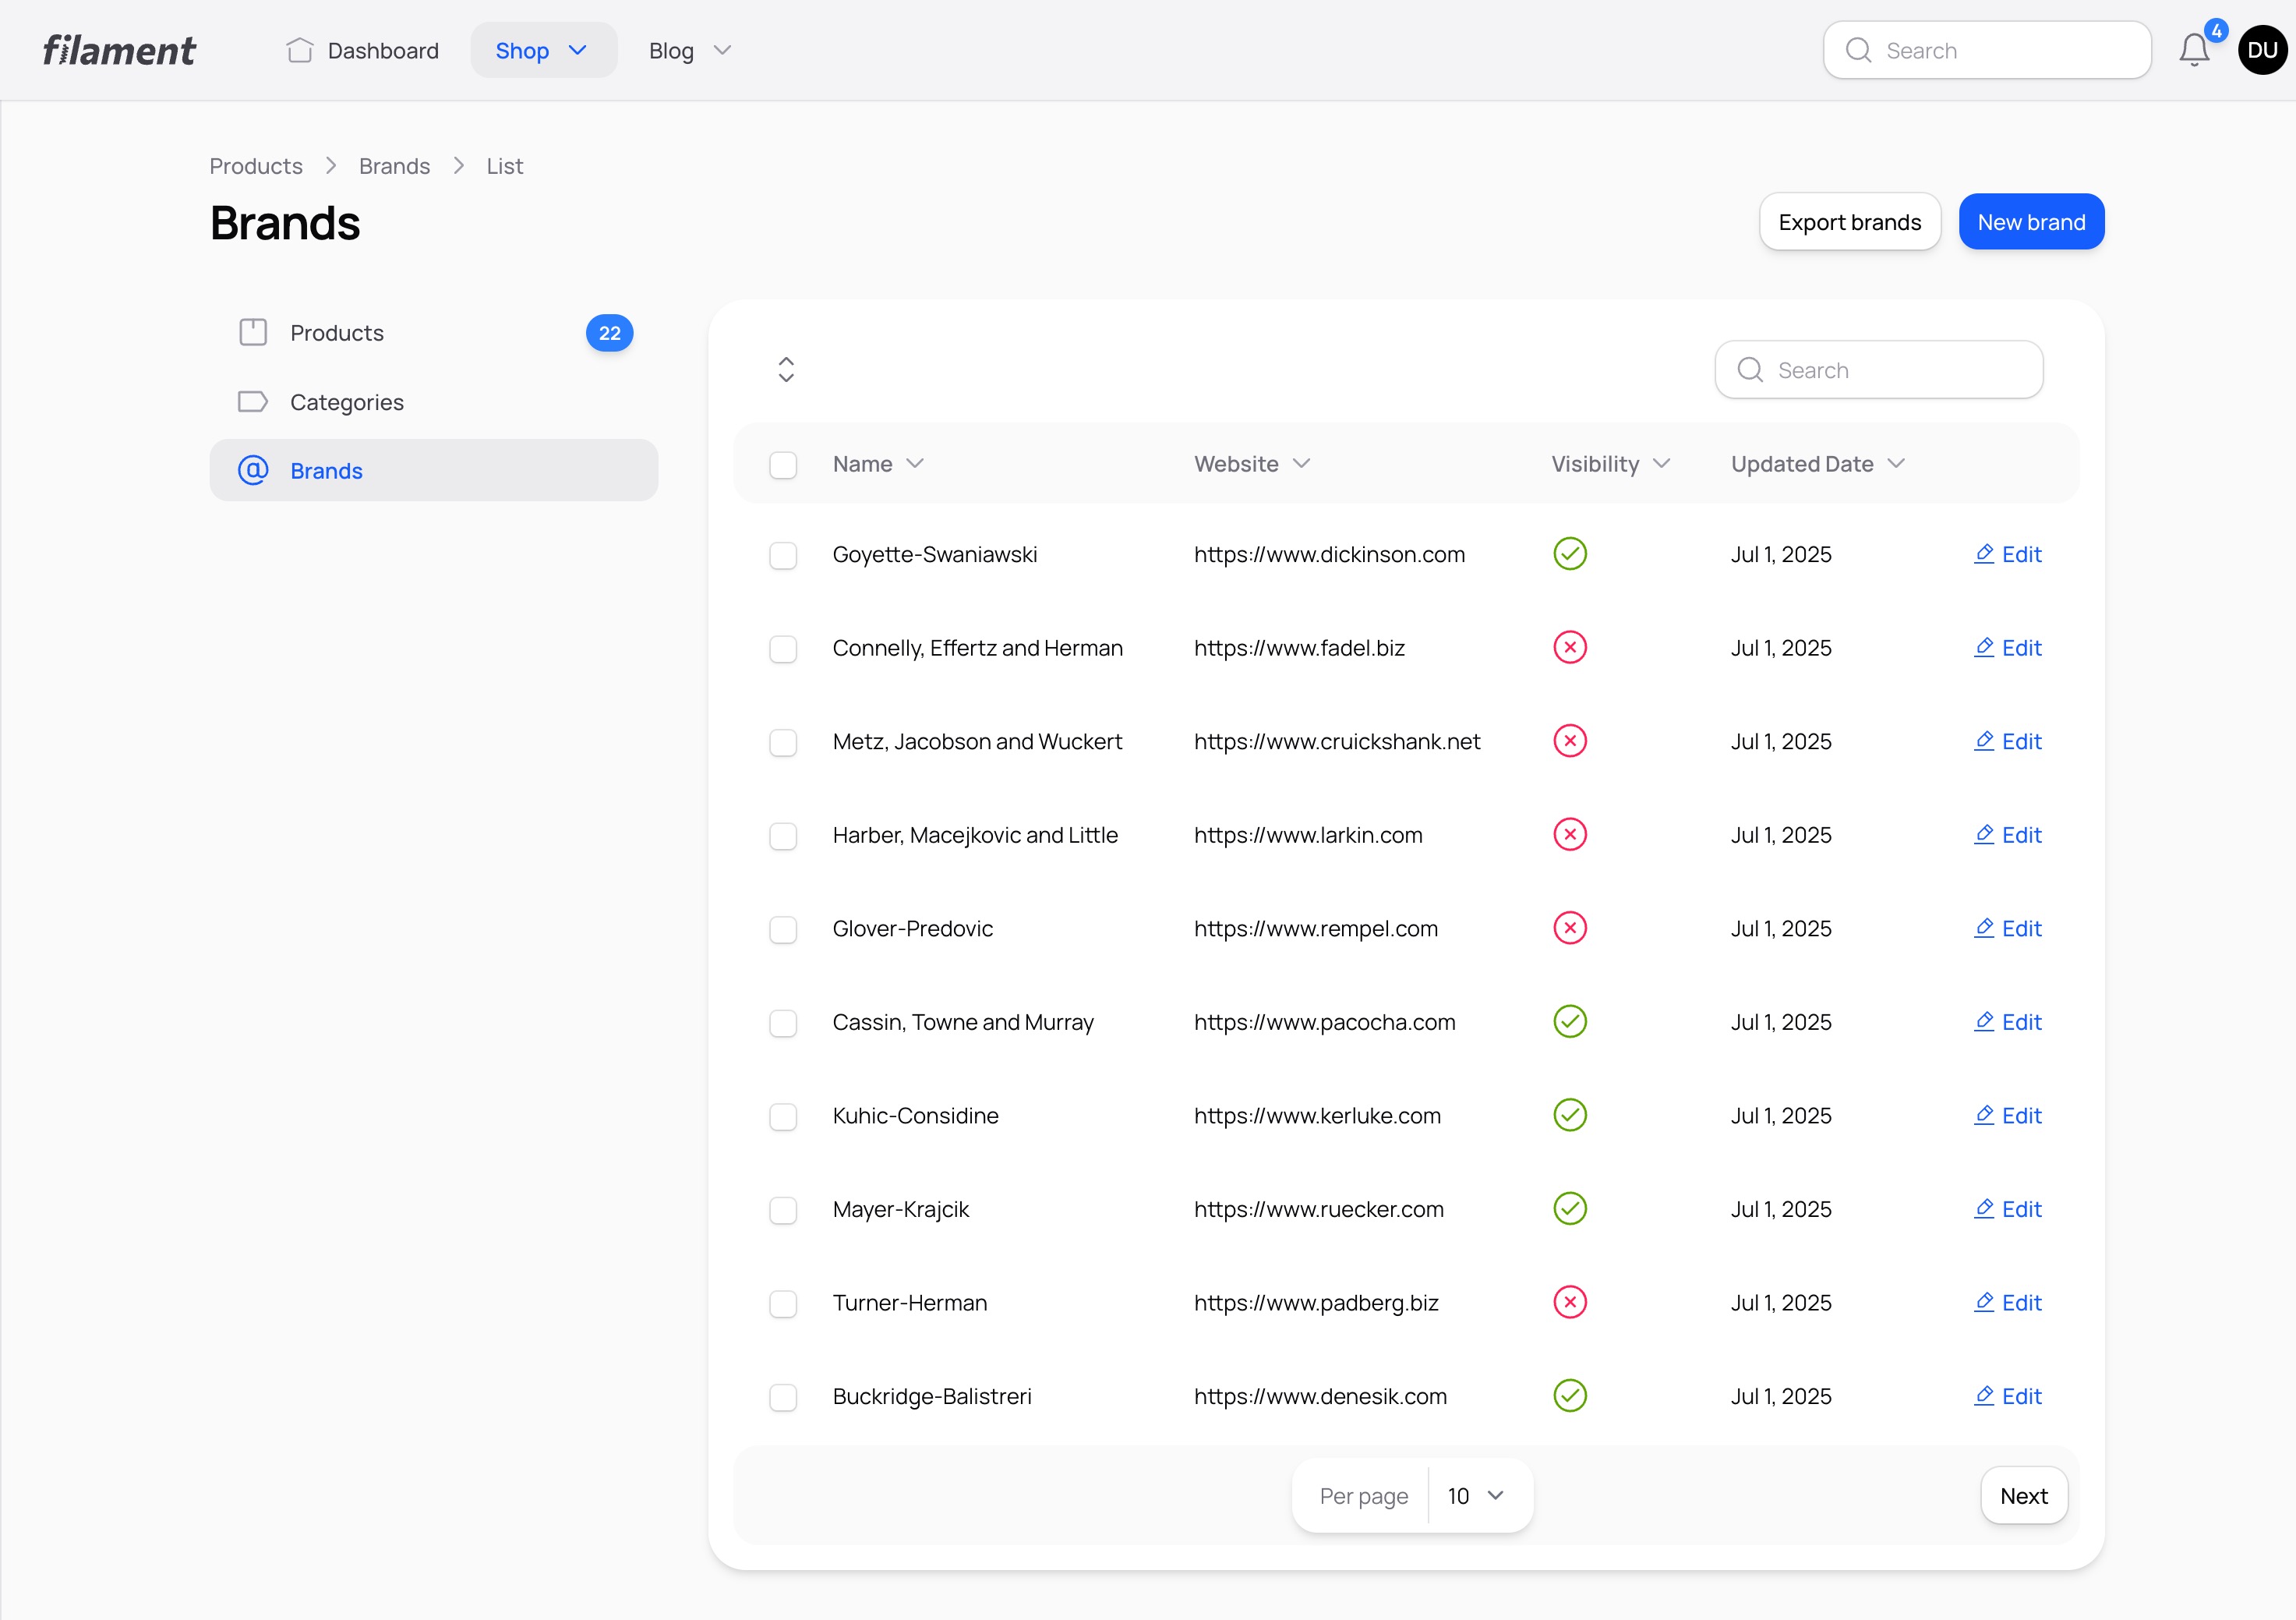
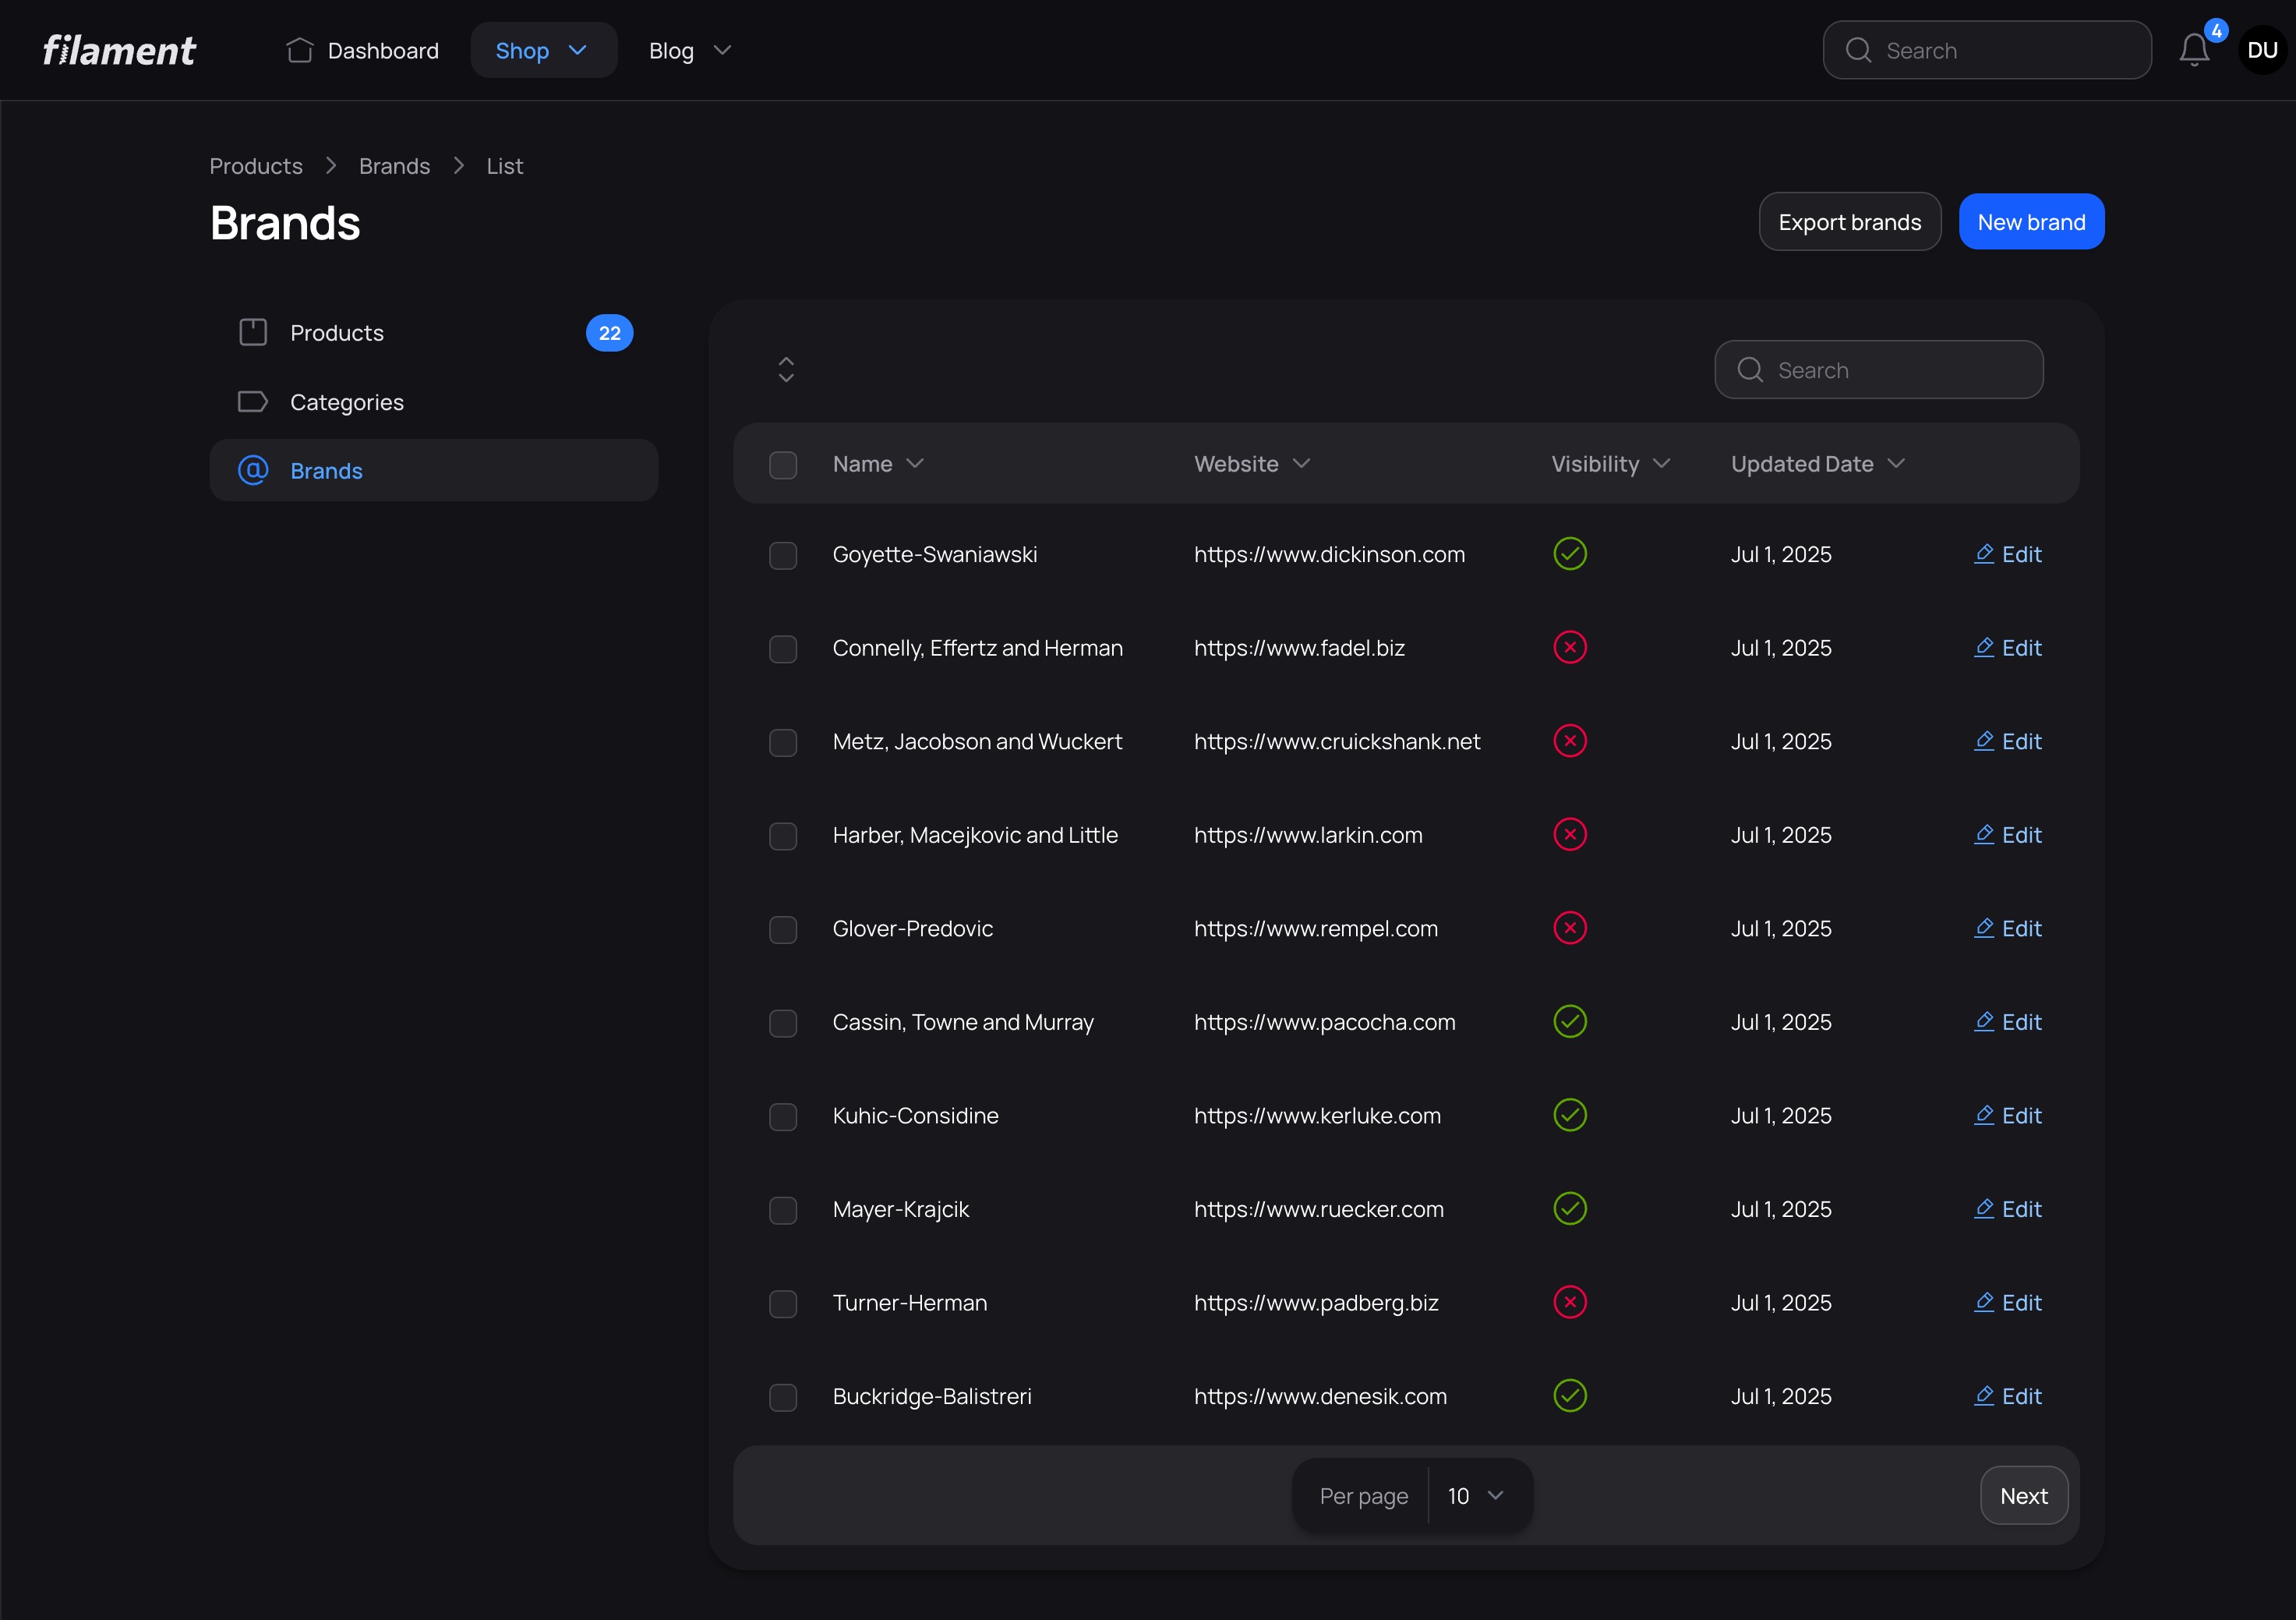
Screenshots
Dashboard
Authentication
Database Notifications
Edit Customer
Create Category Modal
Brands List with Top Navigation
License
This is a commercial product. Your license grants you the right to use this theme according to the terms of your purchase through Anystack.sh.
Standard
- Single site license
- 1 year of updates
- Lifetime access
Unlimited
- Unlimited sites
- Lifetime updates
- Lifetime access
Have questions about Prizm? Get help in our Discord community.